ESP Temperature and Humidity Sensor
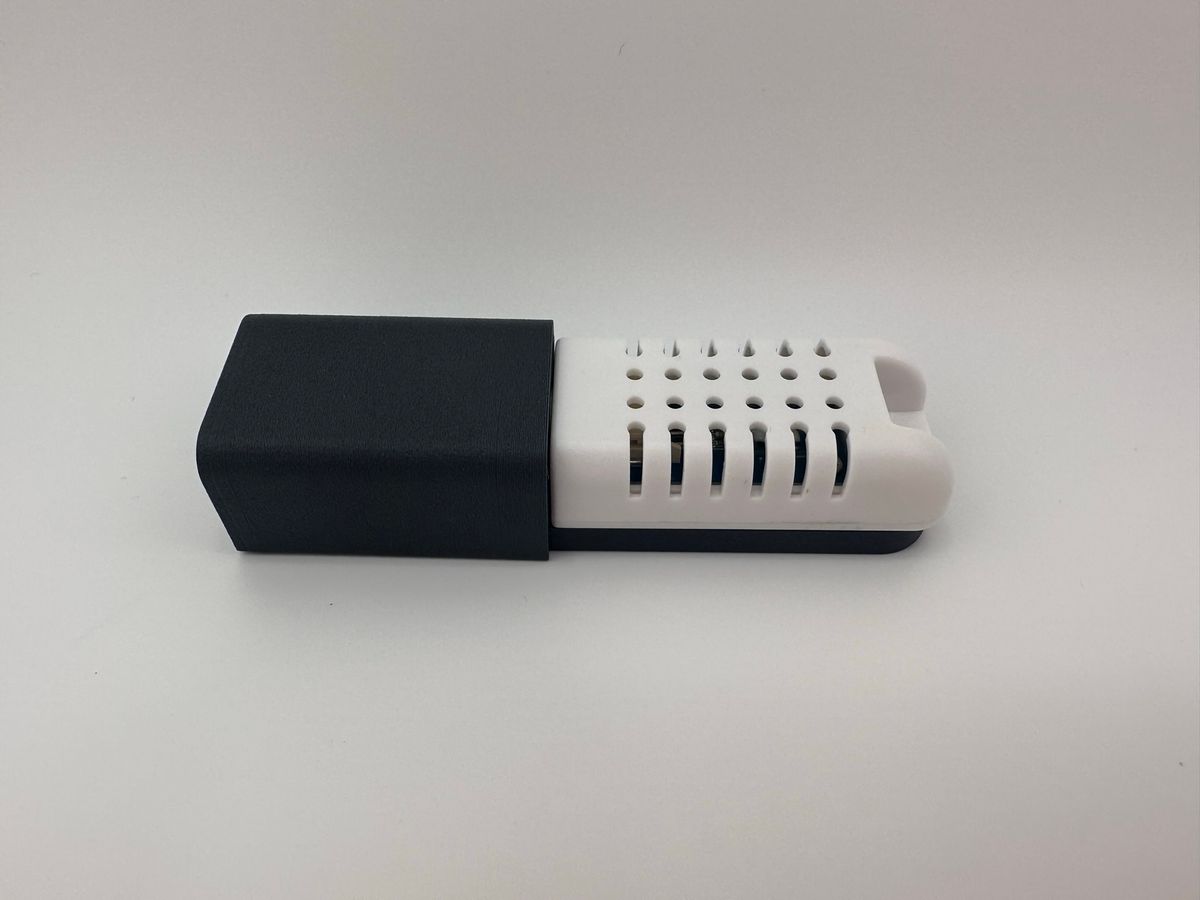
About a year ago, I built a dedicated closet for my network equipment and servers, with it's own AC unit. This is great and all, but there is no easy way to monitor the environment of this separately conditioned space. Sure I could setup some temp alerts from the servers, but that wasn't really how I wanted to deal with it.
Instead, I've opted to create a small environment monitor from an ESP8266 board left over from the Bambu Accessory Box build and an SHT30 temp/humidity sensor.
You can download the files on Printables
The enclosure
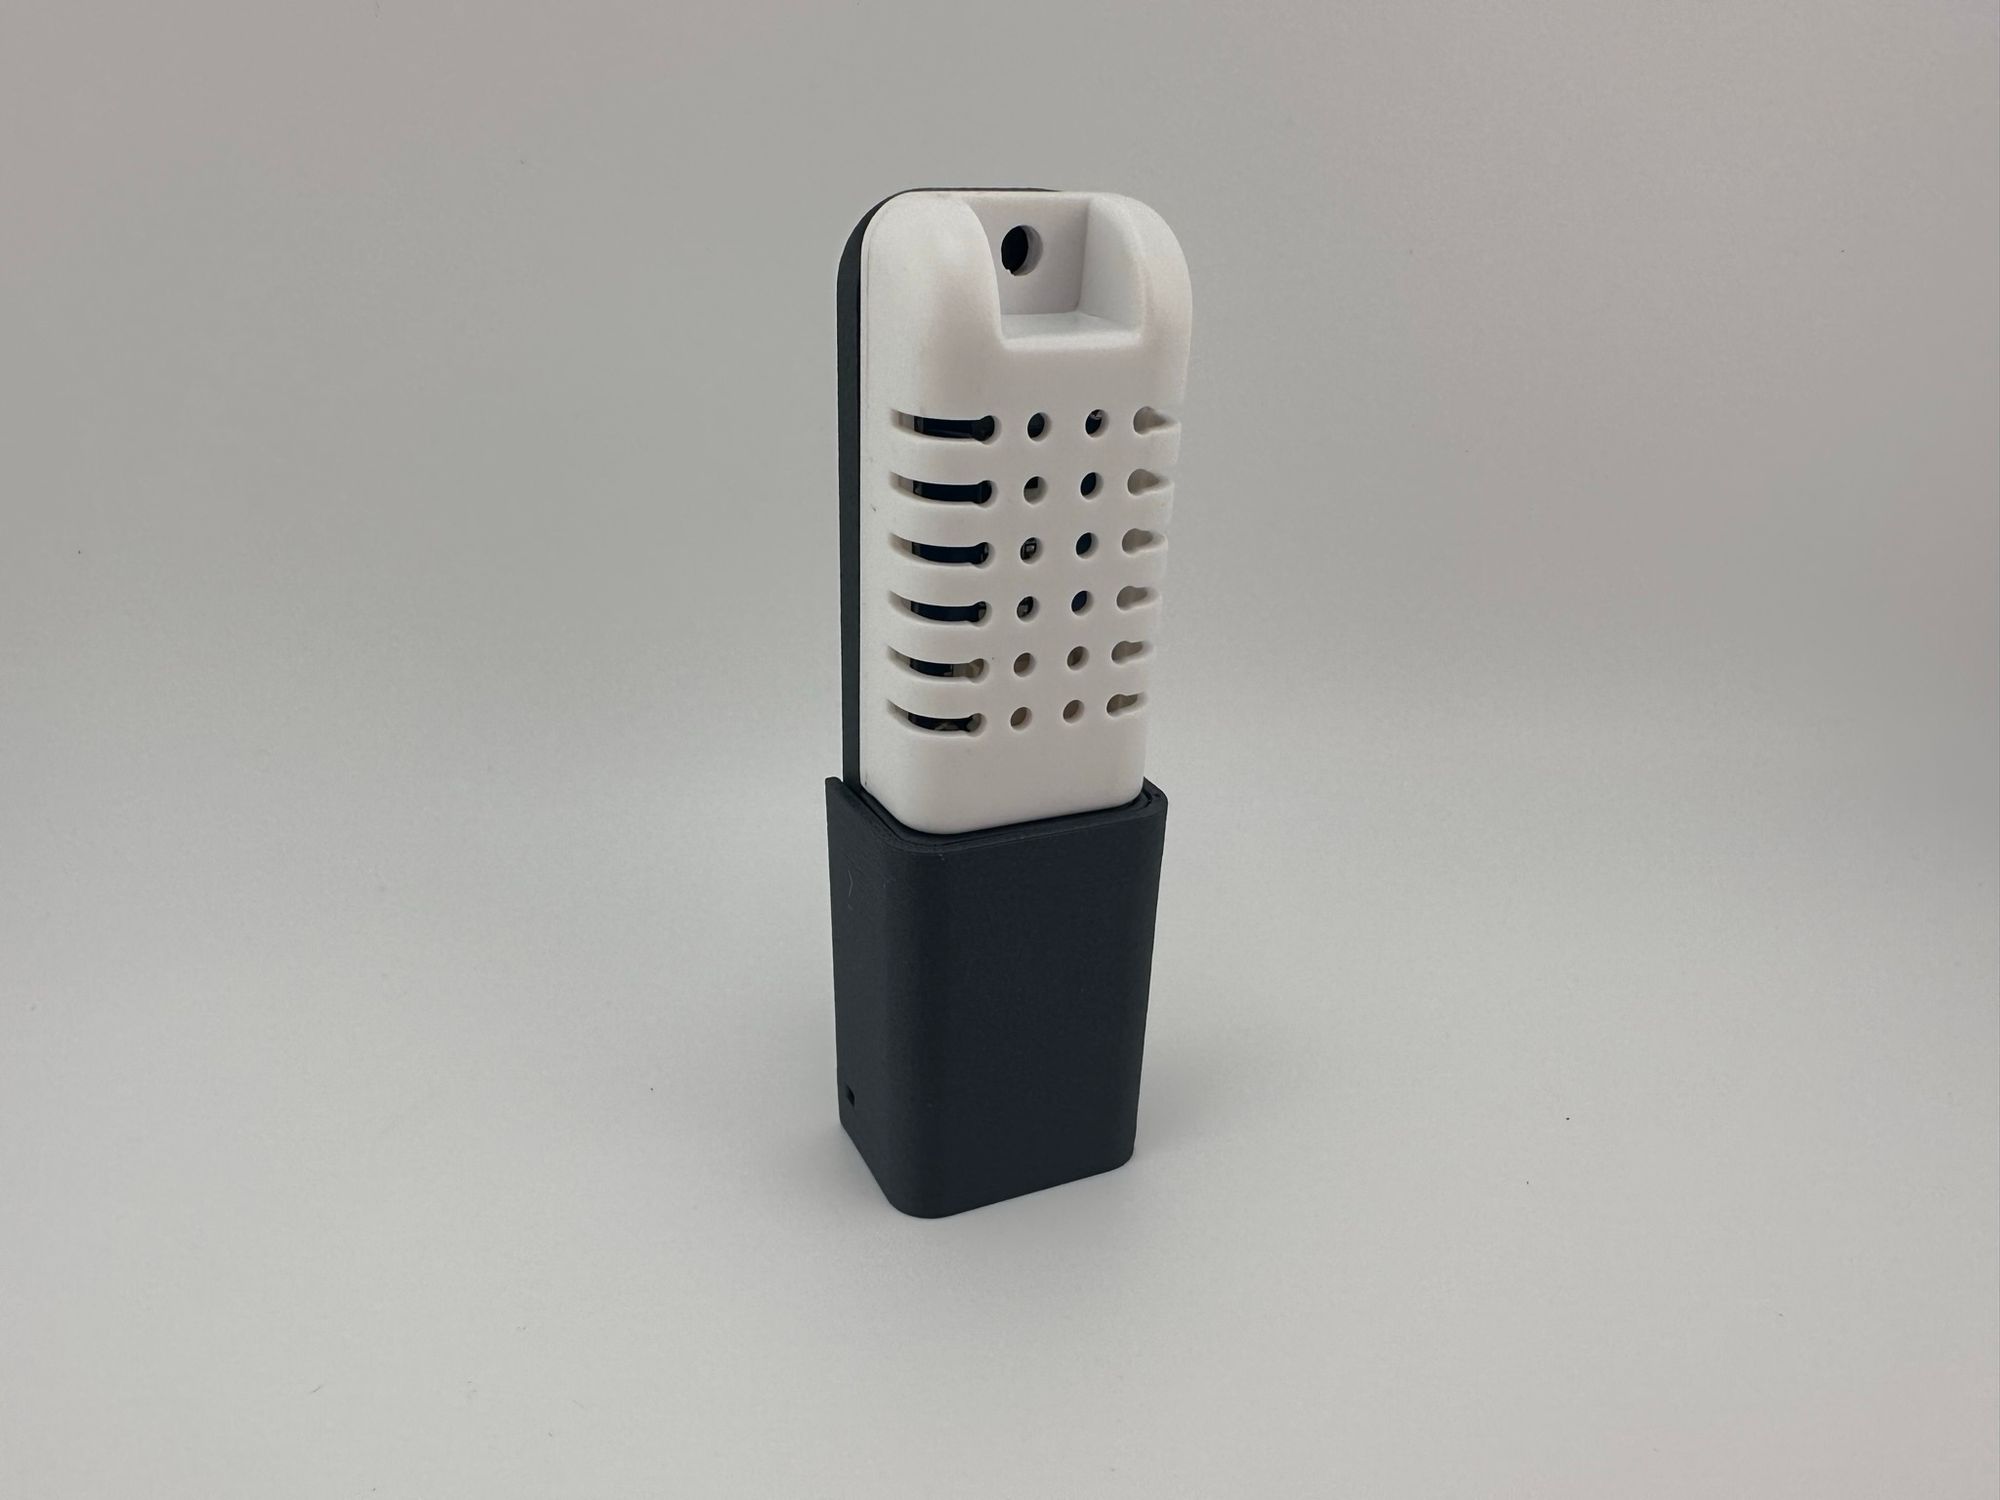
First order of business was to create an enclosure for the ESP board and the sensor. This turned out to be very simple, and fits into a nice stick like form factor.
Wiring
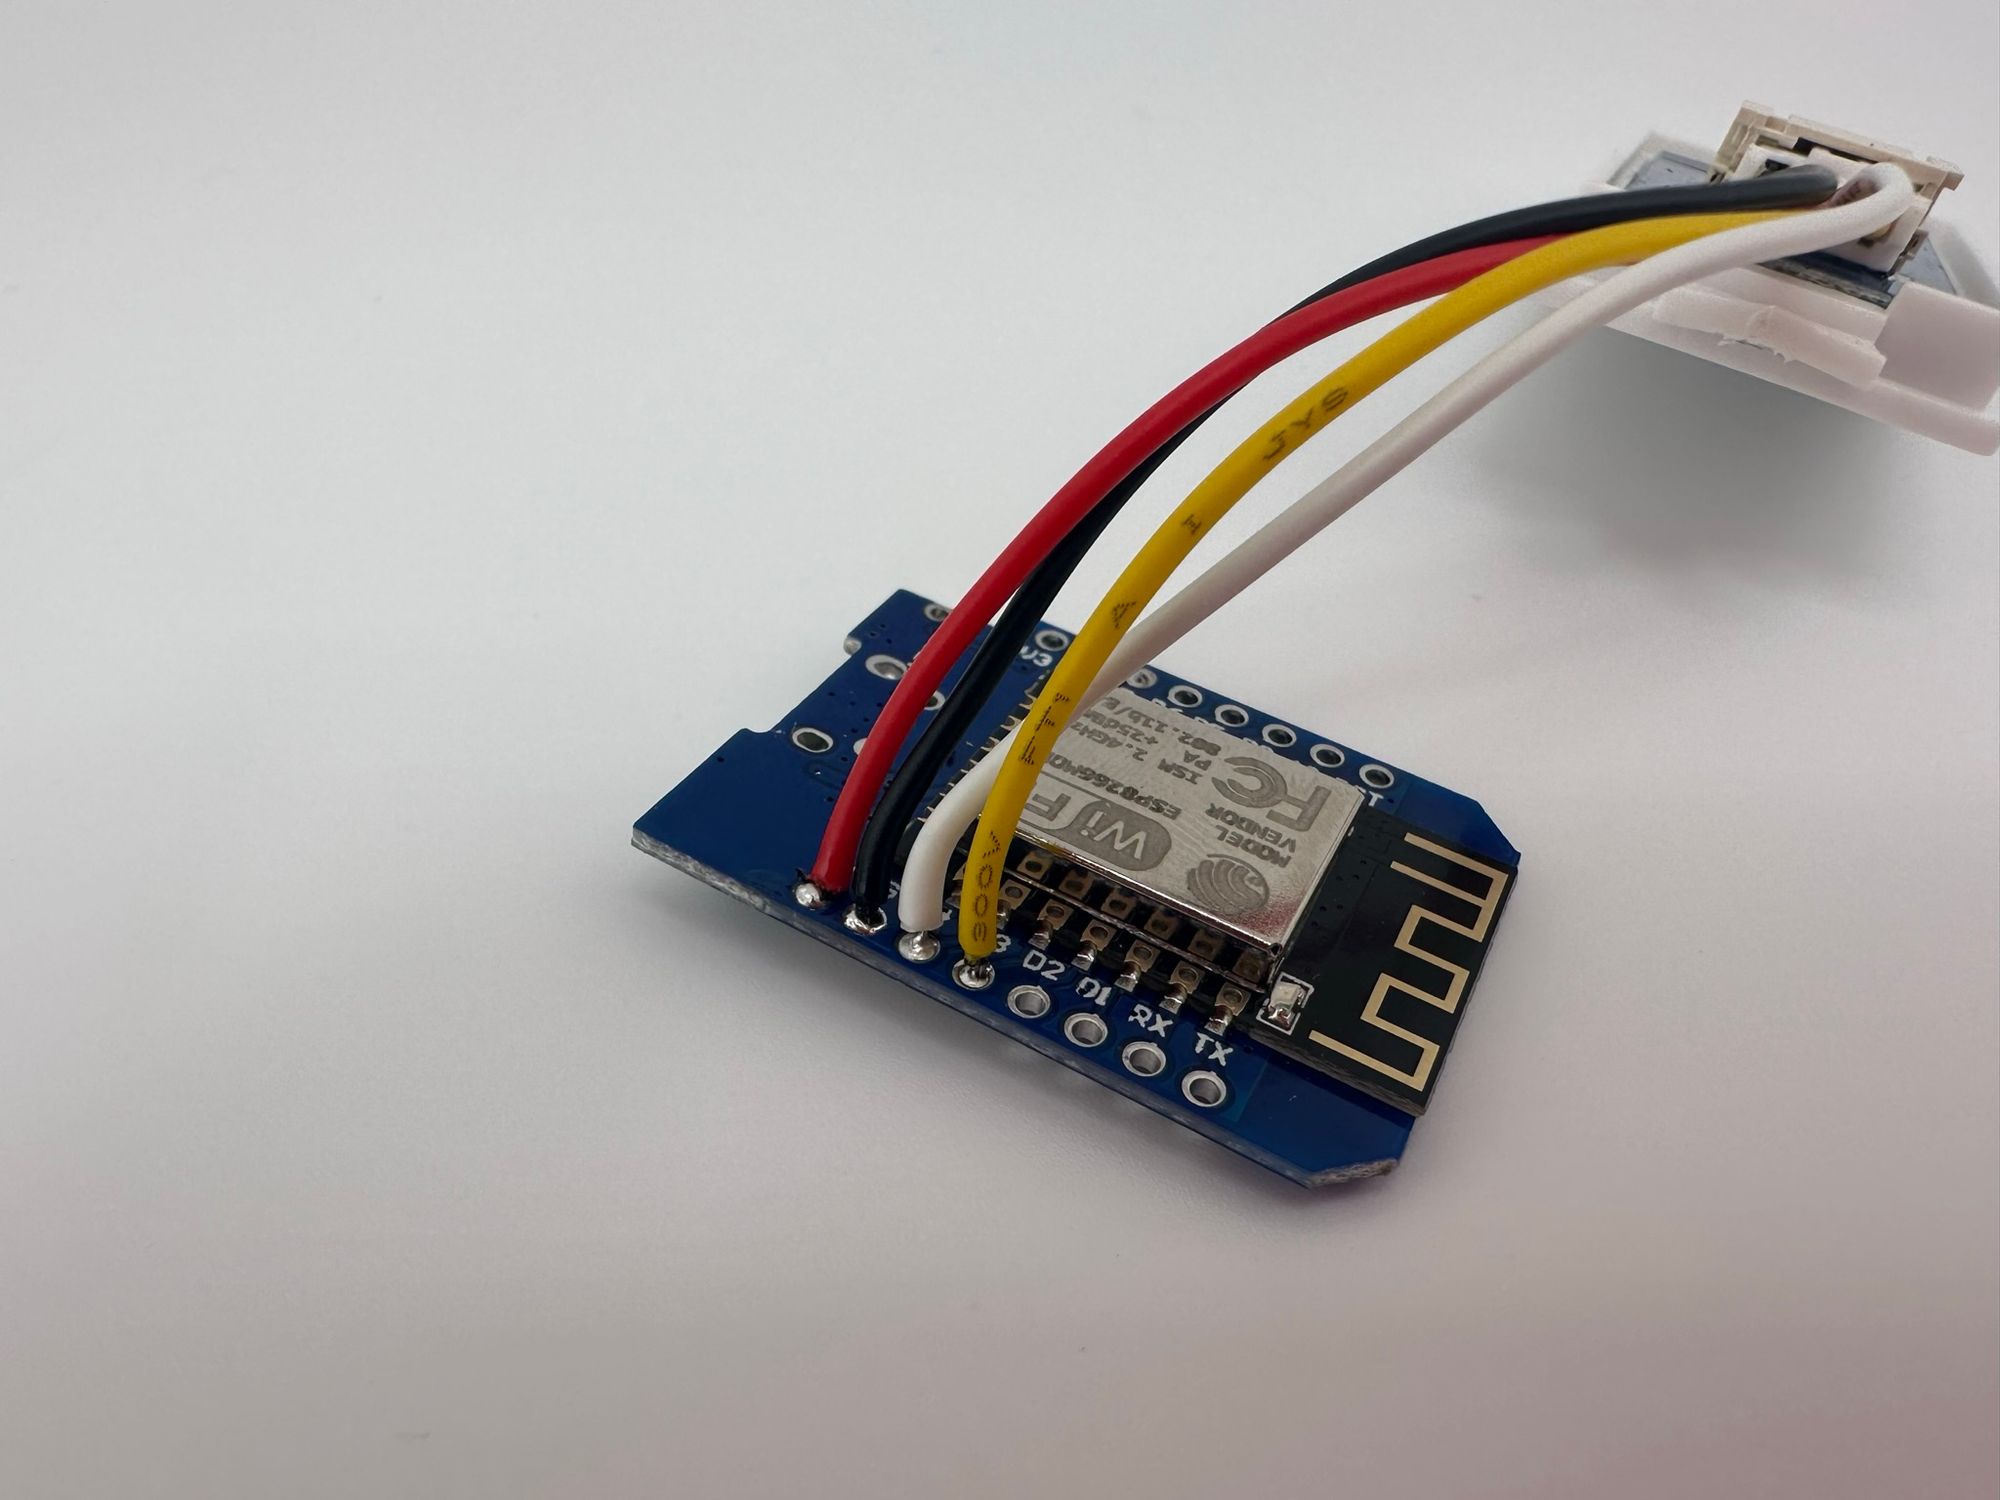
There are only 4 wires to connect the sensor to the ESP board, and USB to power the whole thing. Cut the wires to length before soldering. About 70mm or 3" should be sufficient.
I recommend removing the cover from the sensor, and unplugging the cable to make things easier to work with and install. If you choose not to do this, you will need to run the wires through the hole on the enclosure before soldering them.
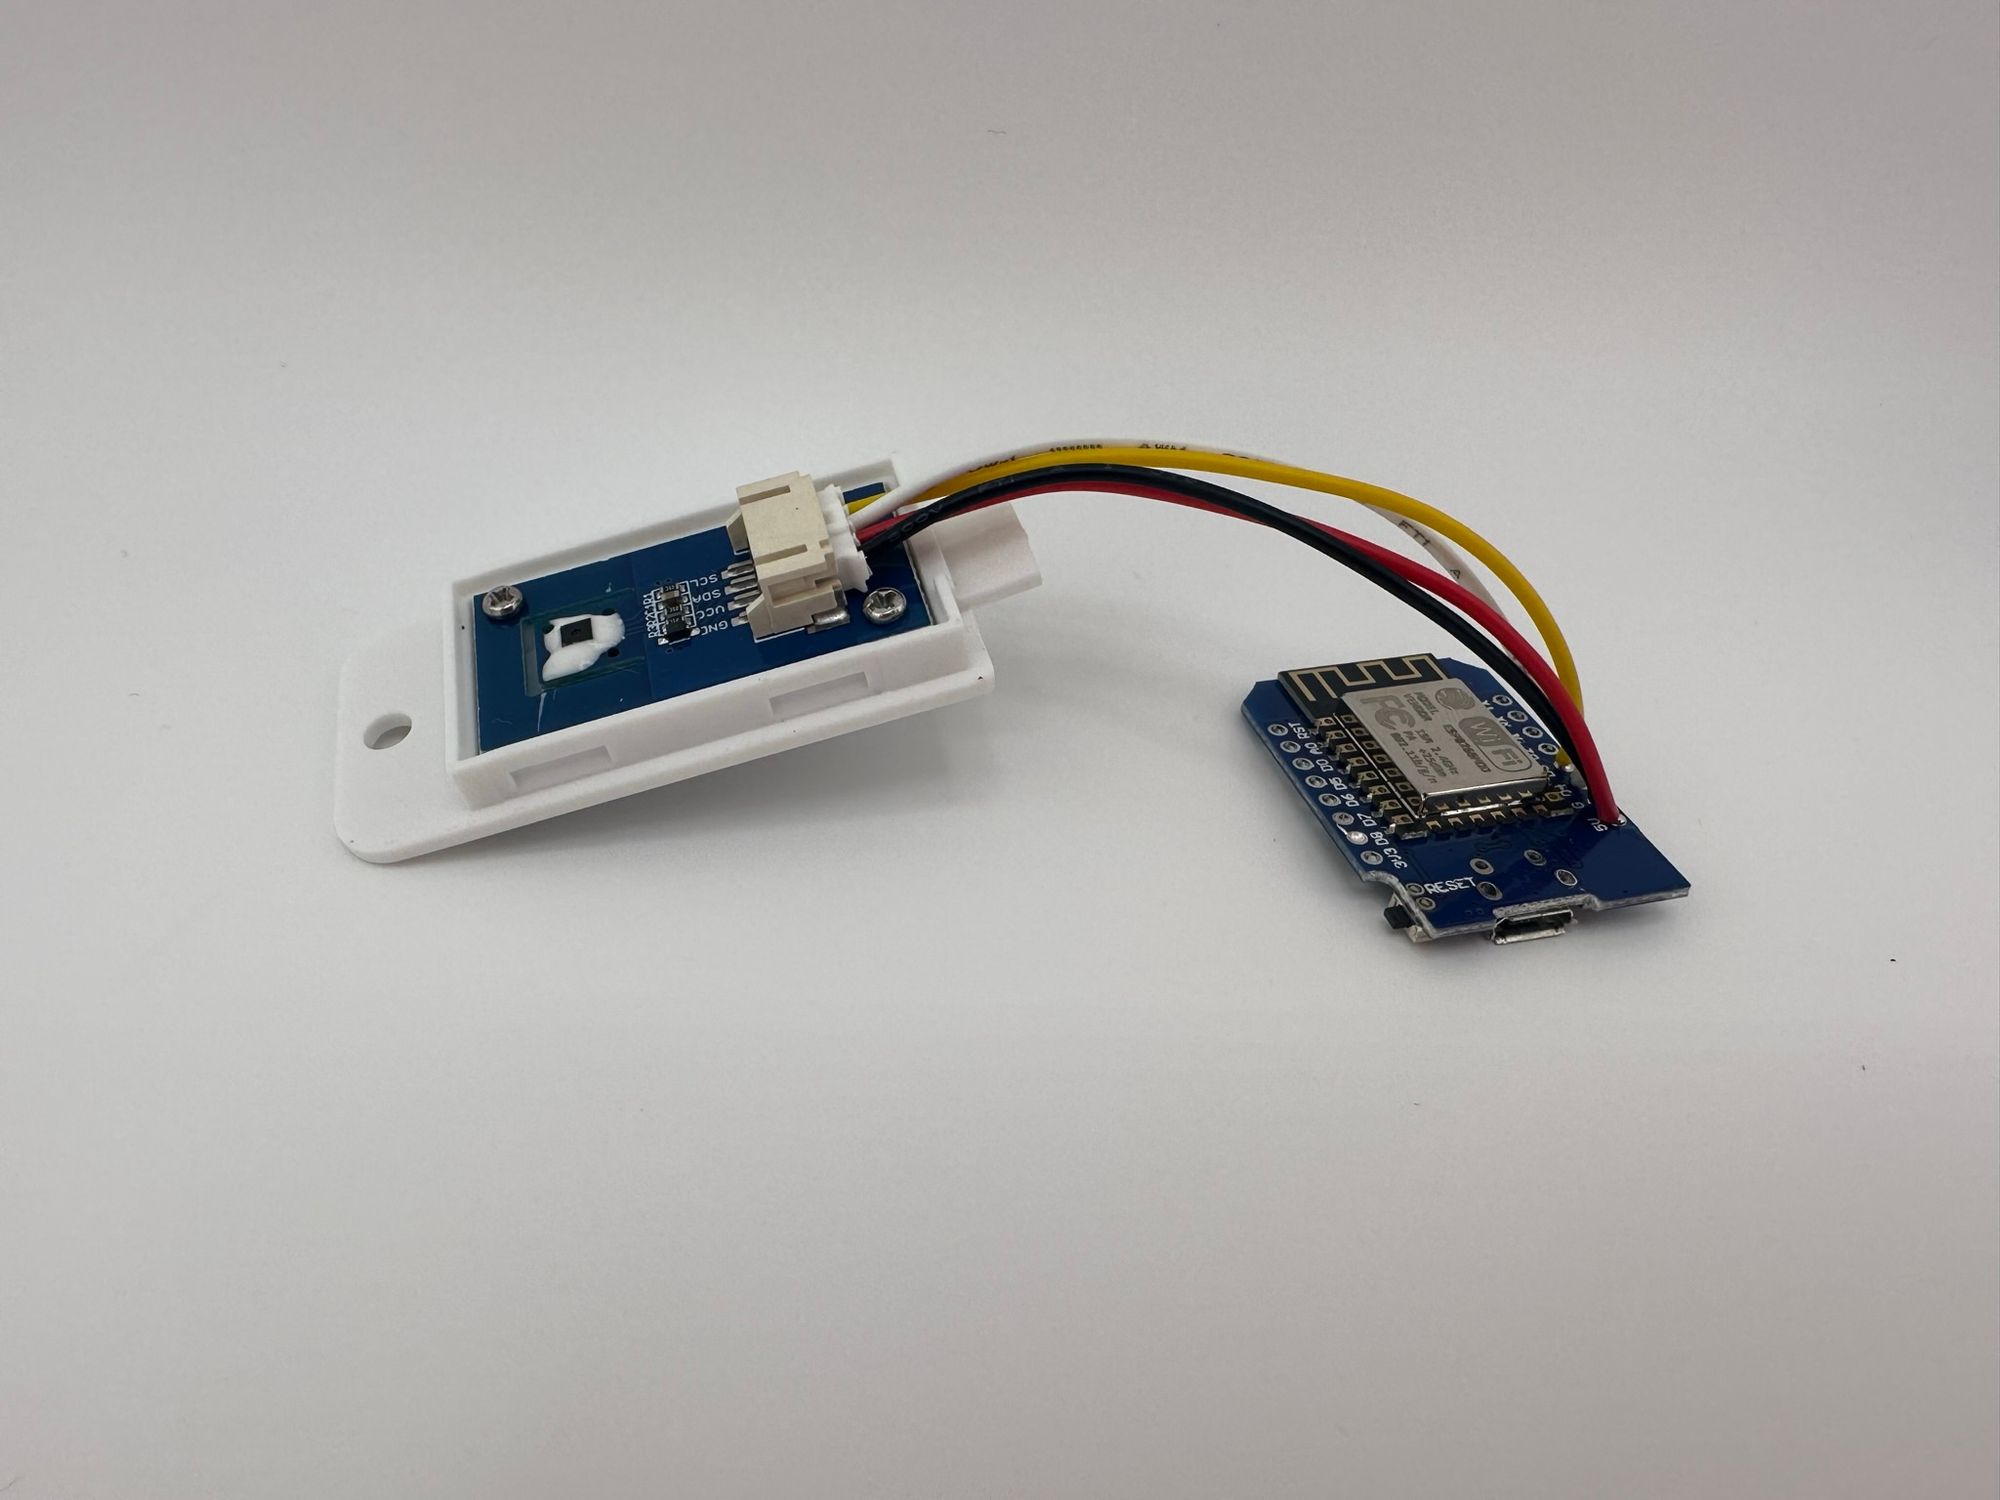
Sensor -> ESP Board
Black -> Ground
Red -> 5v
White -> D4
Yellow -> D3
ESP Home Setup
I opted to use ESP Home to integrate this sensor into my Home Assistant instance. There is not a lot to it, just setup the i2c bus, and temp sensor. Here is the configuration:
esphome:
  name: server_room_temp

esp8266:
  board: d1_mini

# Enable logging
logger:

# Enable Home Assistant API
api:
  password: ""

ota:
  password: ""

i2c:
  id: bus_a
  scl: D3
  sda: D4
  scan: False

sensor:
  - platform: sht3xd
    i2c_id: bus_a
    temperature:
      name: "Server Room Temperature"
    humidity:
      name: "Server Room Humidity"
    address: 0x44
    update_interval: 1s

wifi:
  ssid: "YOUR_WIFI_SSID"
  password: "YOUR_WIFI_PASSWORD"

  # Enable fallback hotspot (captive portal) in case wifi connection fails
  ap:
    ssid: "Server Room Temp"
    password: "some_random_string"

captive_portal:
If you've never setup a device with ESP Home before, it's fairly straight forward once you have it installed locally. Let me give a brief overview of the steps I use:
- Install ESP Home on your local machine
> pip3 install wheel
> pip3 install esphome
# Confirm Install
> esphome version
# Version 2023.7.0 - Plug in ESP board via USB to your local machine (You may need to install drivers for the serial port to work correctly).
- Install the initial configuration onto the board
> esphome run config.yaml
# config.yaml being whatever file you saved the configuration as
Those steps will get the device configured and connecting to your WiFi. Since I use ESP Home with Home Assistant, I also need to add the device there (I just use the above steps to get it connected to network honestly)
From the ESPHome tab in Home Assistant
1. Click the "Add Device" button
2. Enter a name for it
3. Installation: Skip This Step
4. Select your ESP board version (ESP8266 in this case)
5. Skip the encryption key box, no need to click install.
6. Edit the created config, and paste in our config we installed earlier.
7. Click "Install" to re-install the config and synchronize it with Home Assistant
8. The device should now be connected within Home Assistant!
Testing
Before we button everything up, it's important to test things first. So let's hook it up to USB power and see if the device sends data.
You should see the device as Online under the ESPHome tab in Home Assistant

And if we look at the device details, we should see the temperature and humidity data being reported

Final Assembly
Now that we've confirmed things are working as expected, it's time to assemble everything.
First, install the heat set insert into the cover, and optionally install the other into the bottom of the enclosure for the screw which will clamp the sensor into place.
Next, place the ESP board into position, run the wires through the hole, and plug in the sensor.
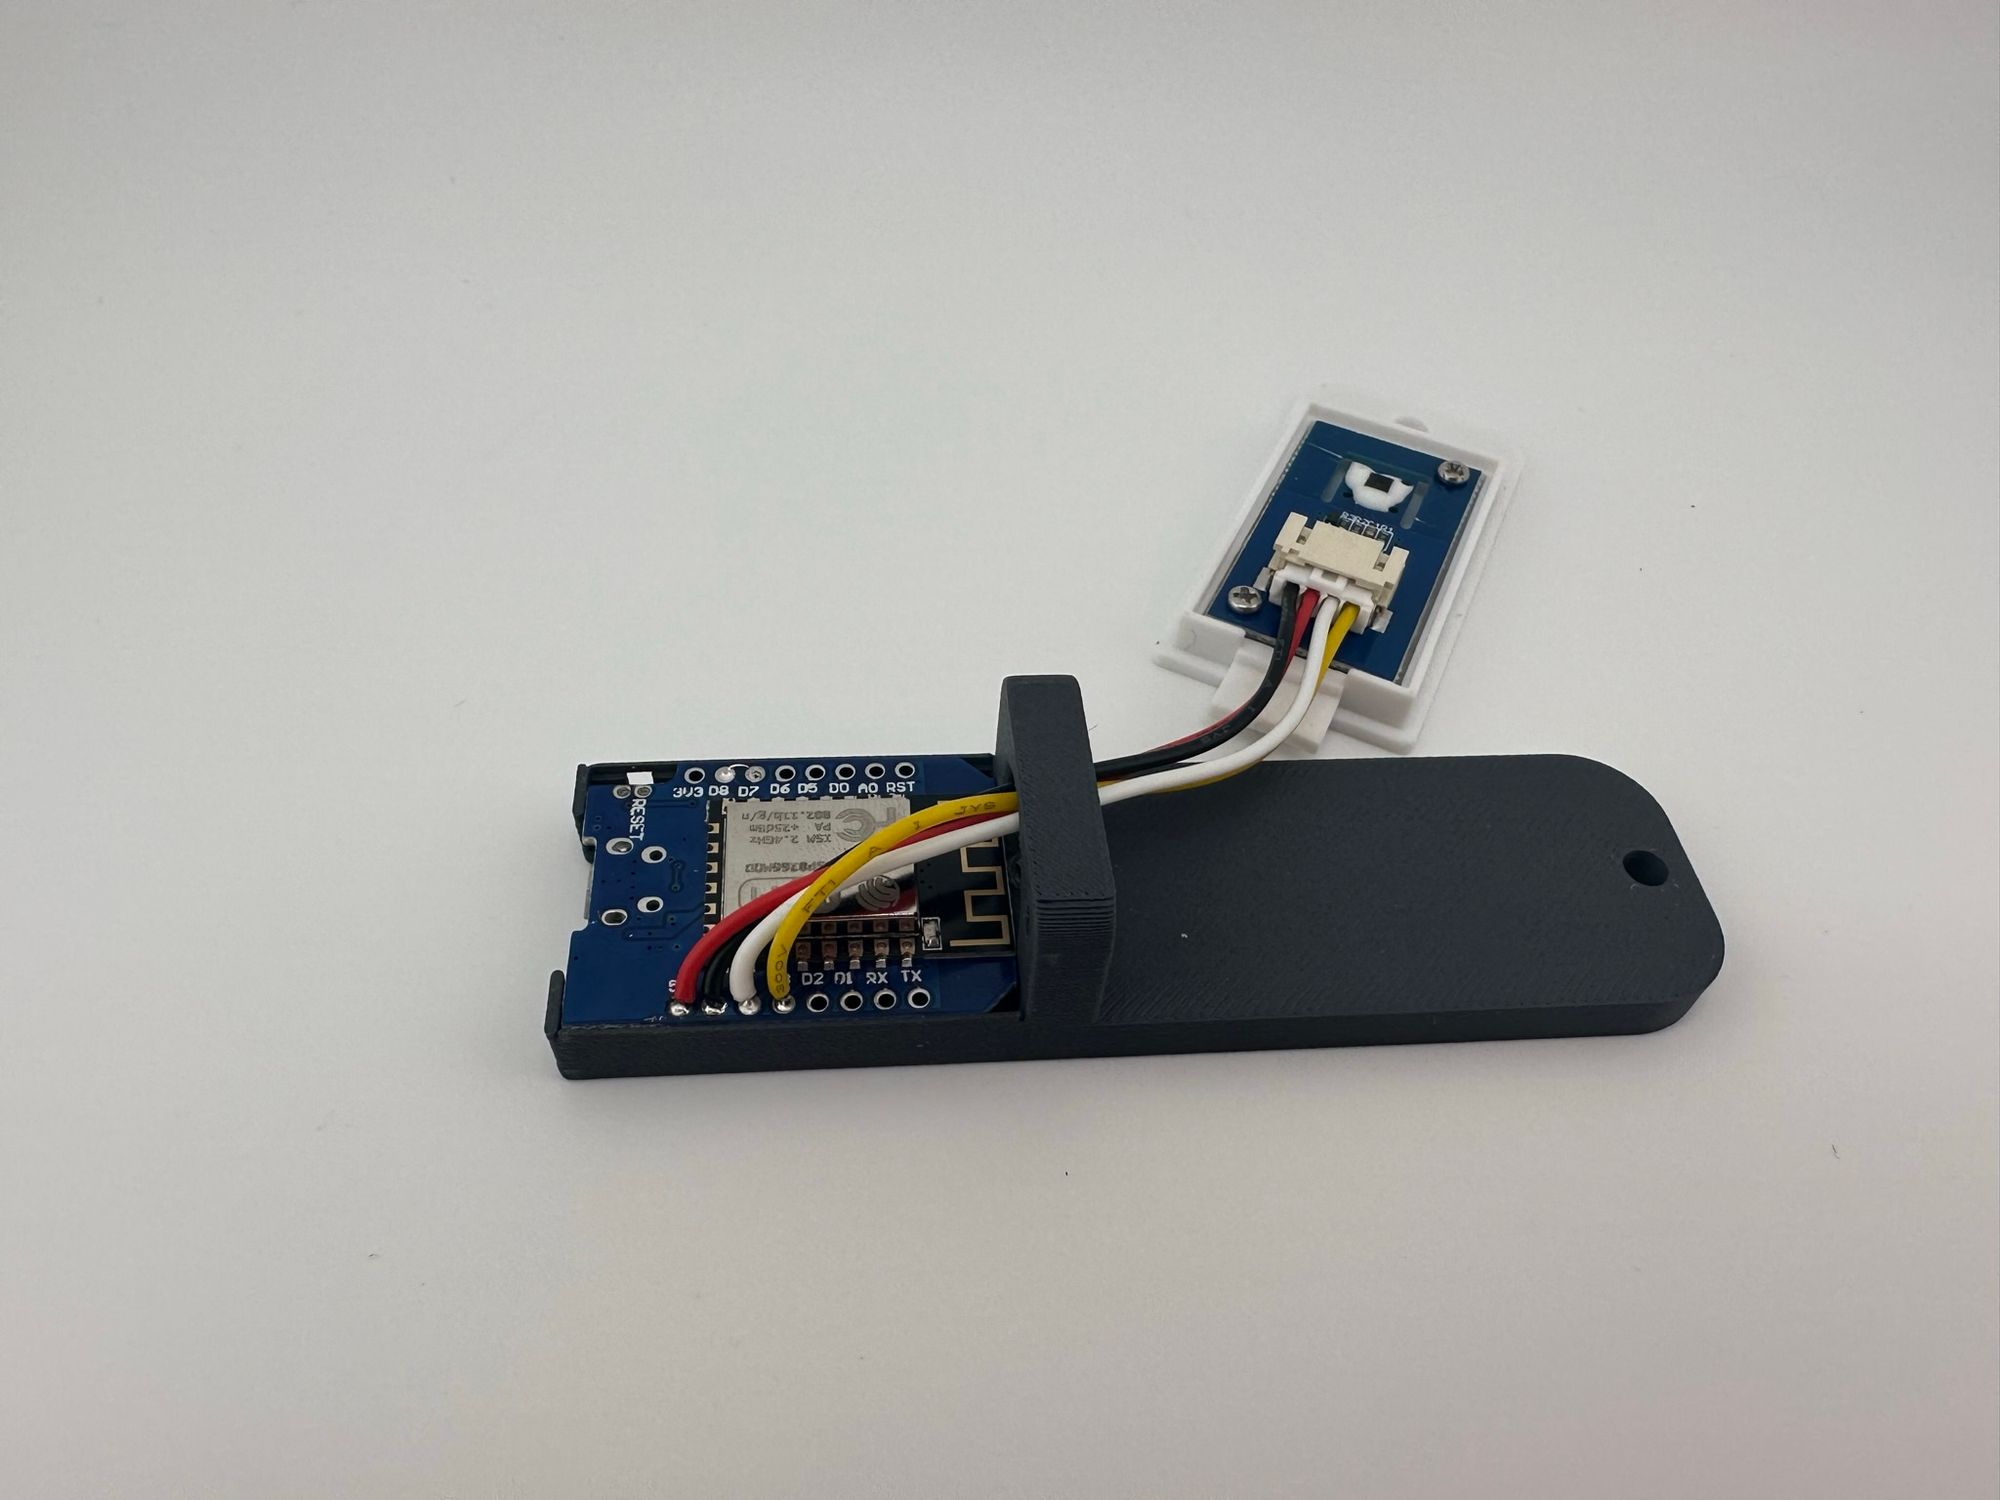
Install the ESP cover and lock it in with the screw which should sit flush with the bulkhead. Reinstall the sensor cover.
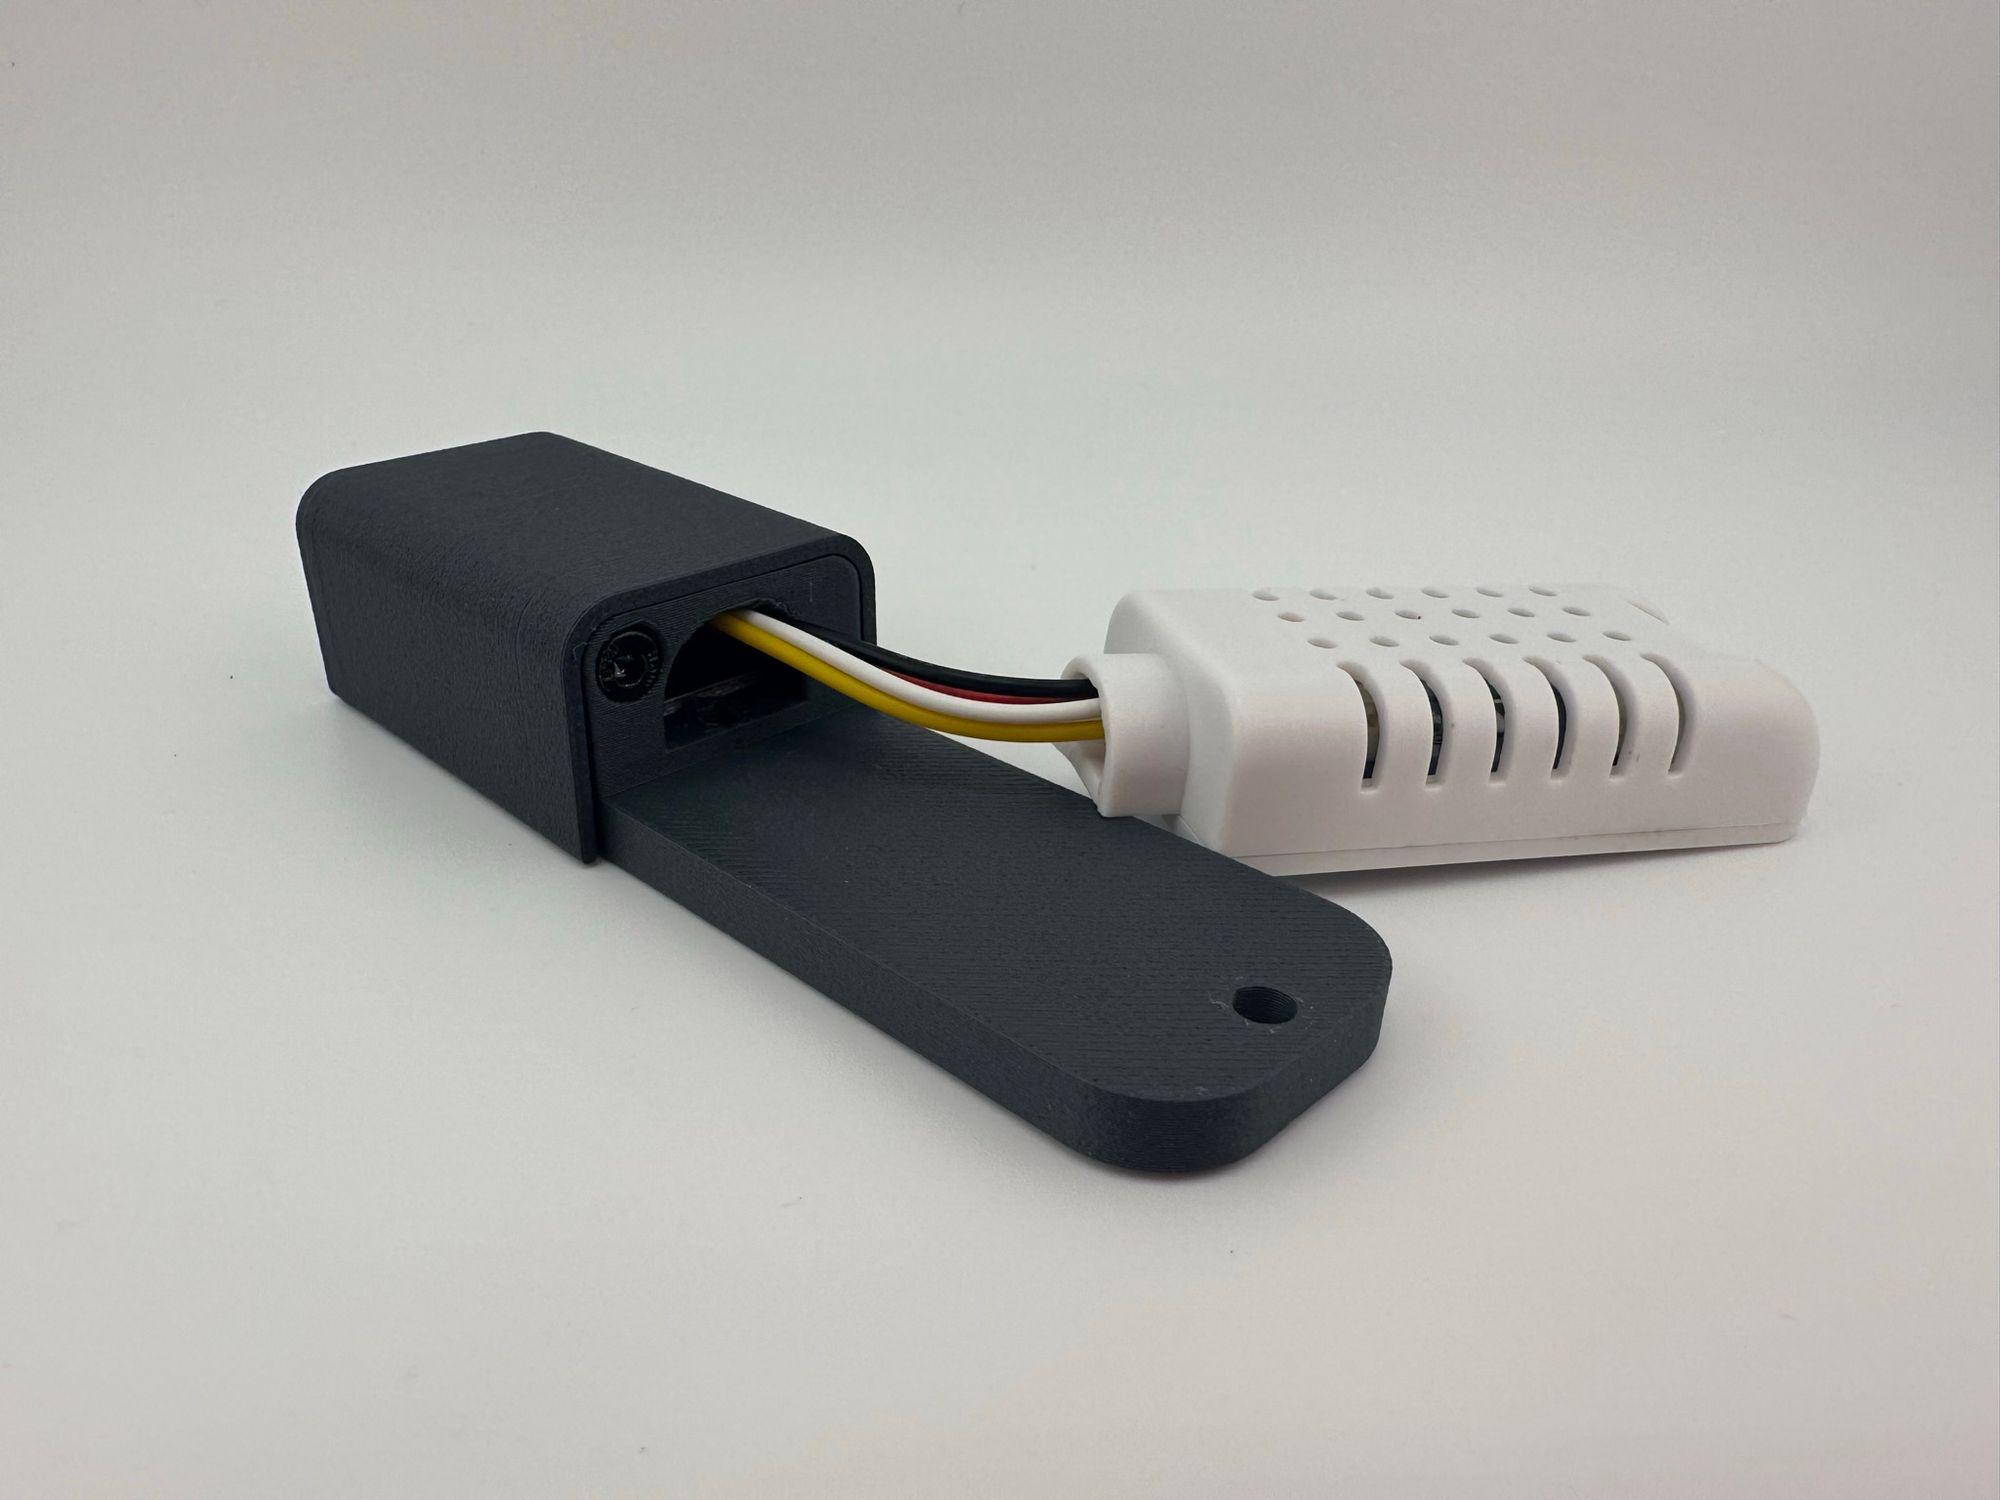
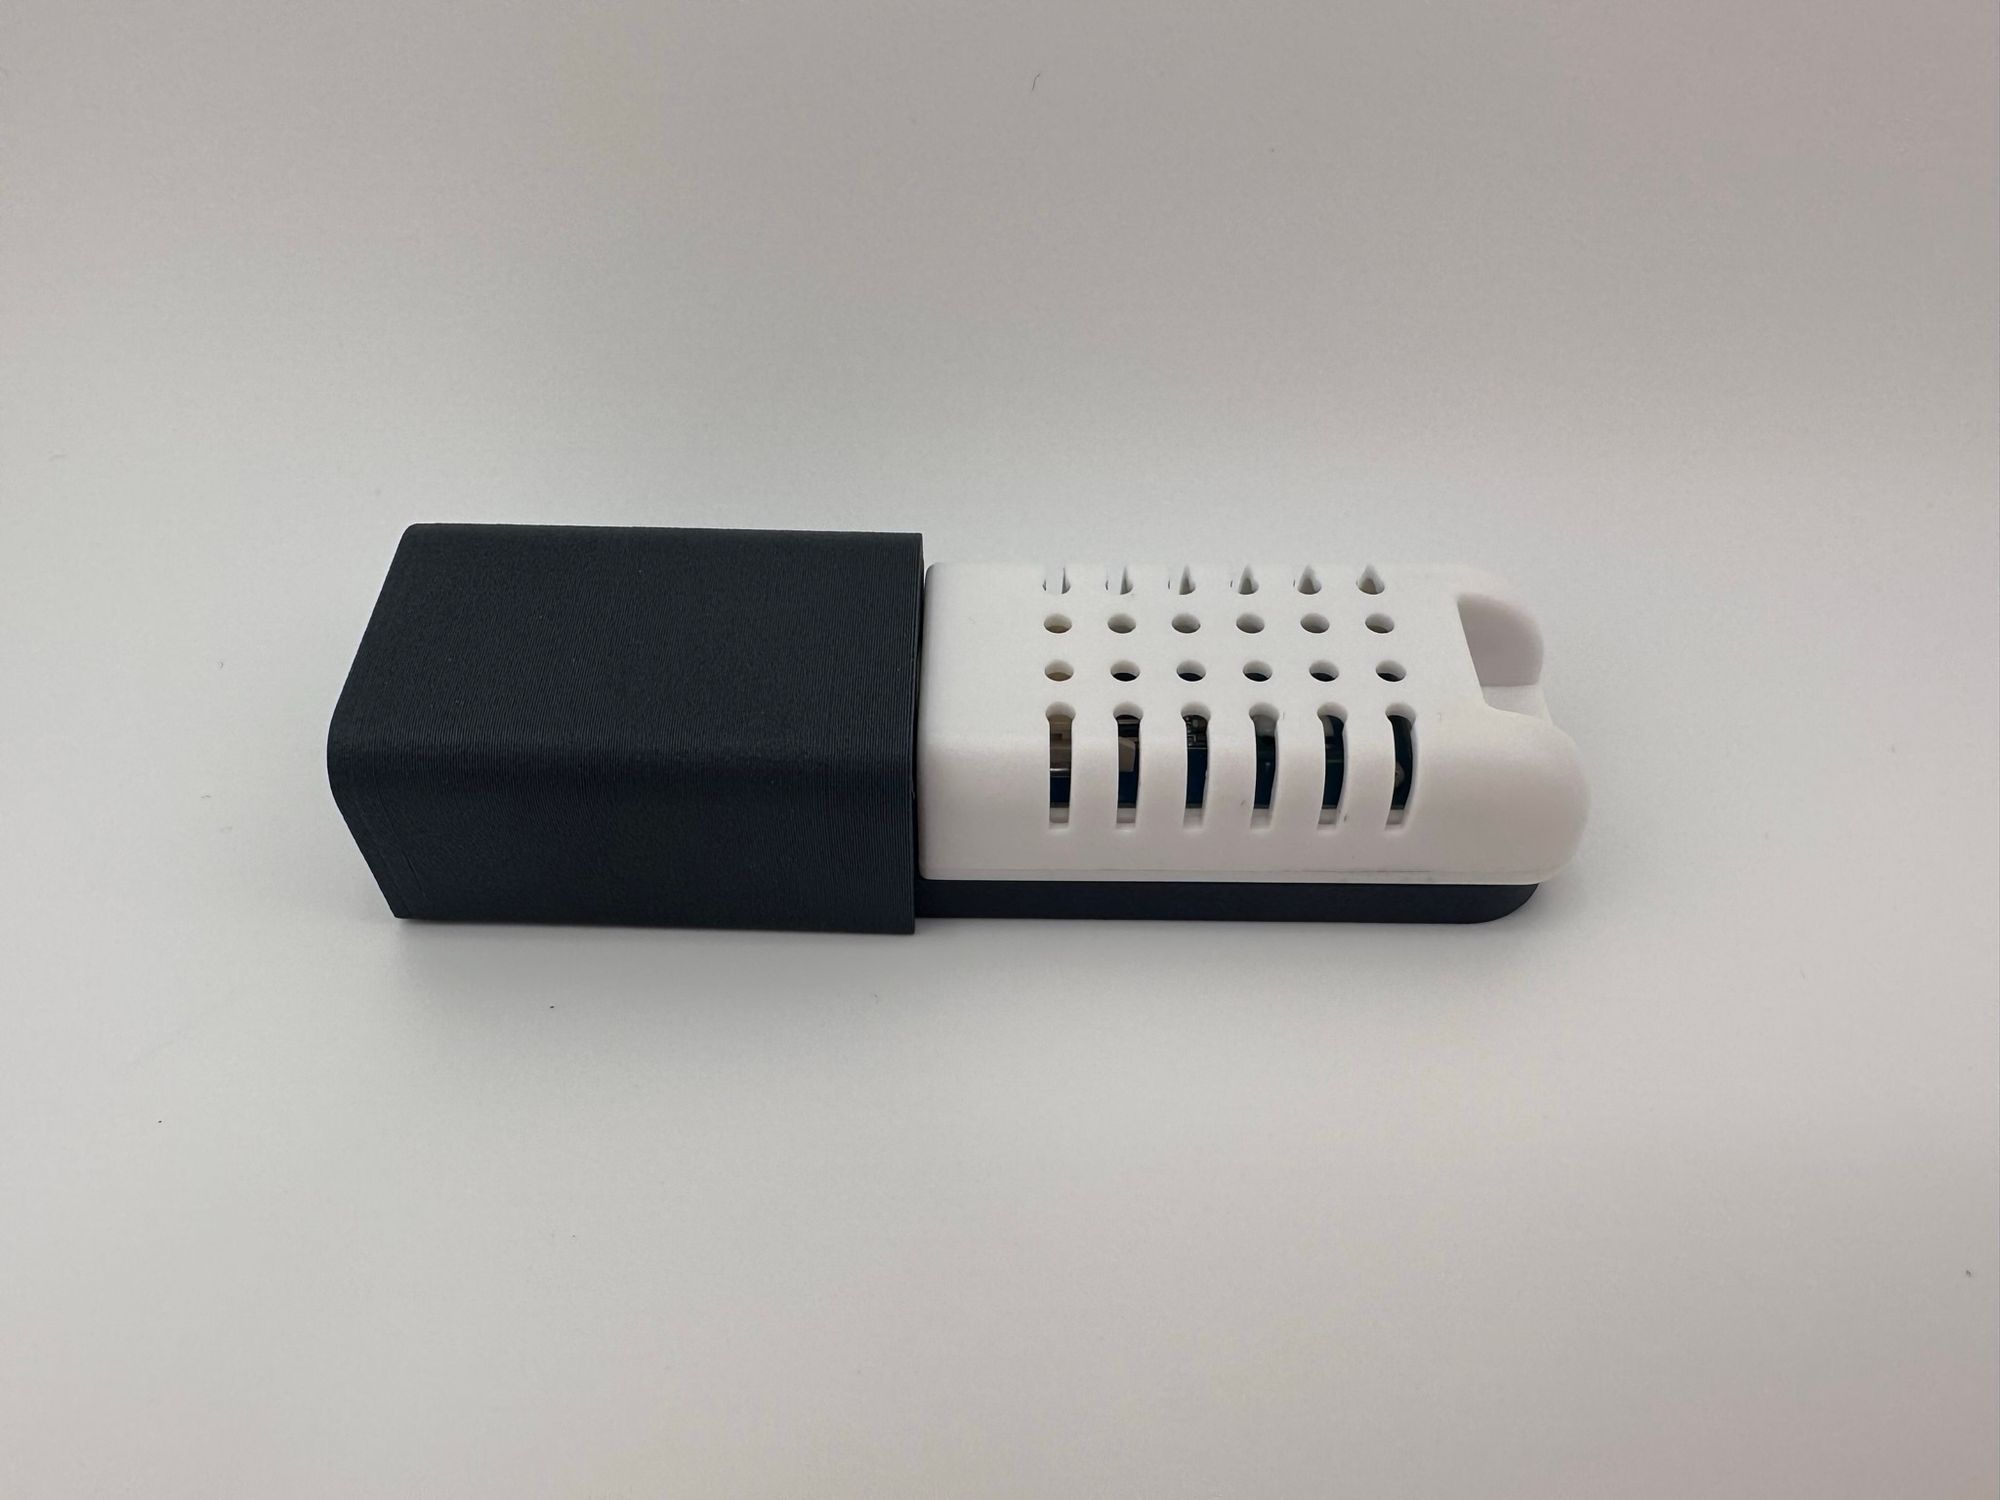
Press fit the sensor into the bulkhead hole, being careful to not put too much strain on the wires as you do it. It will be quite a tight fit, so some force may be required.
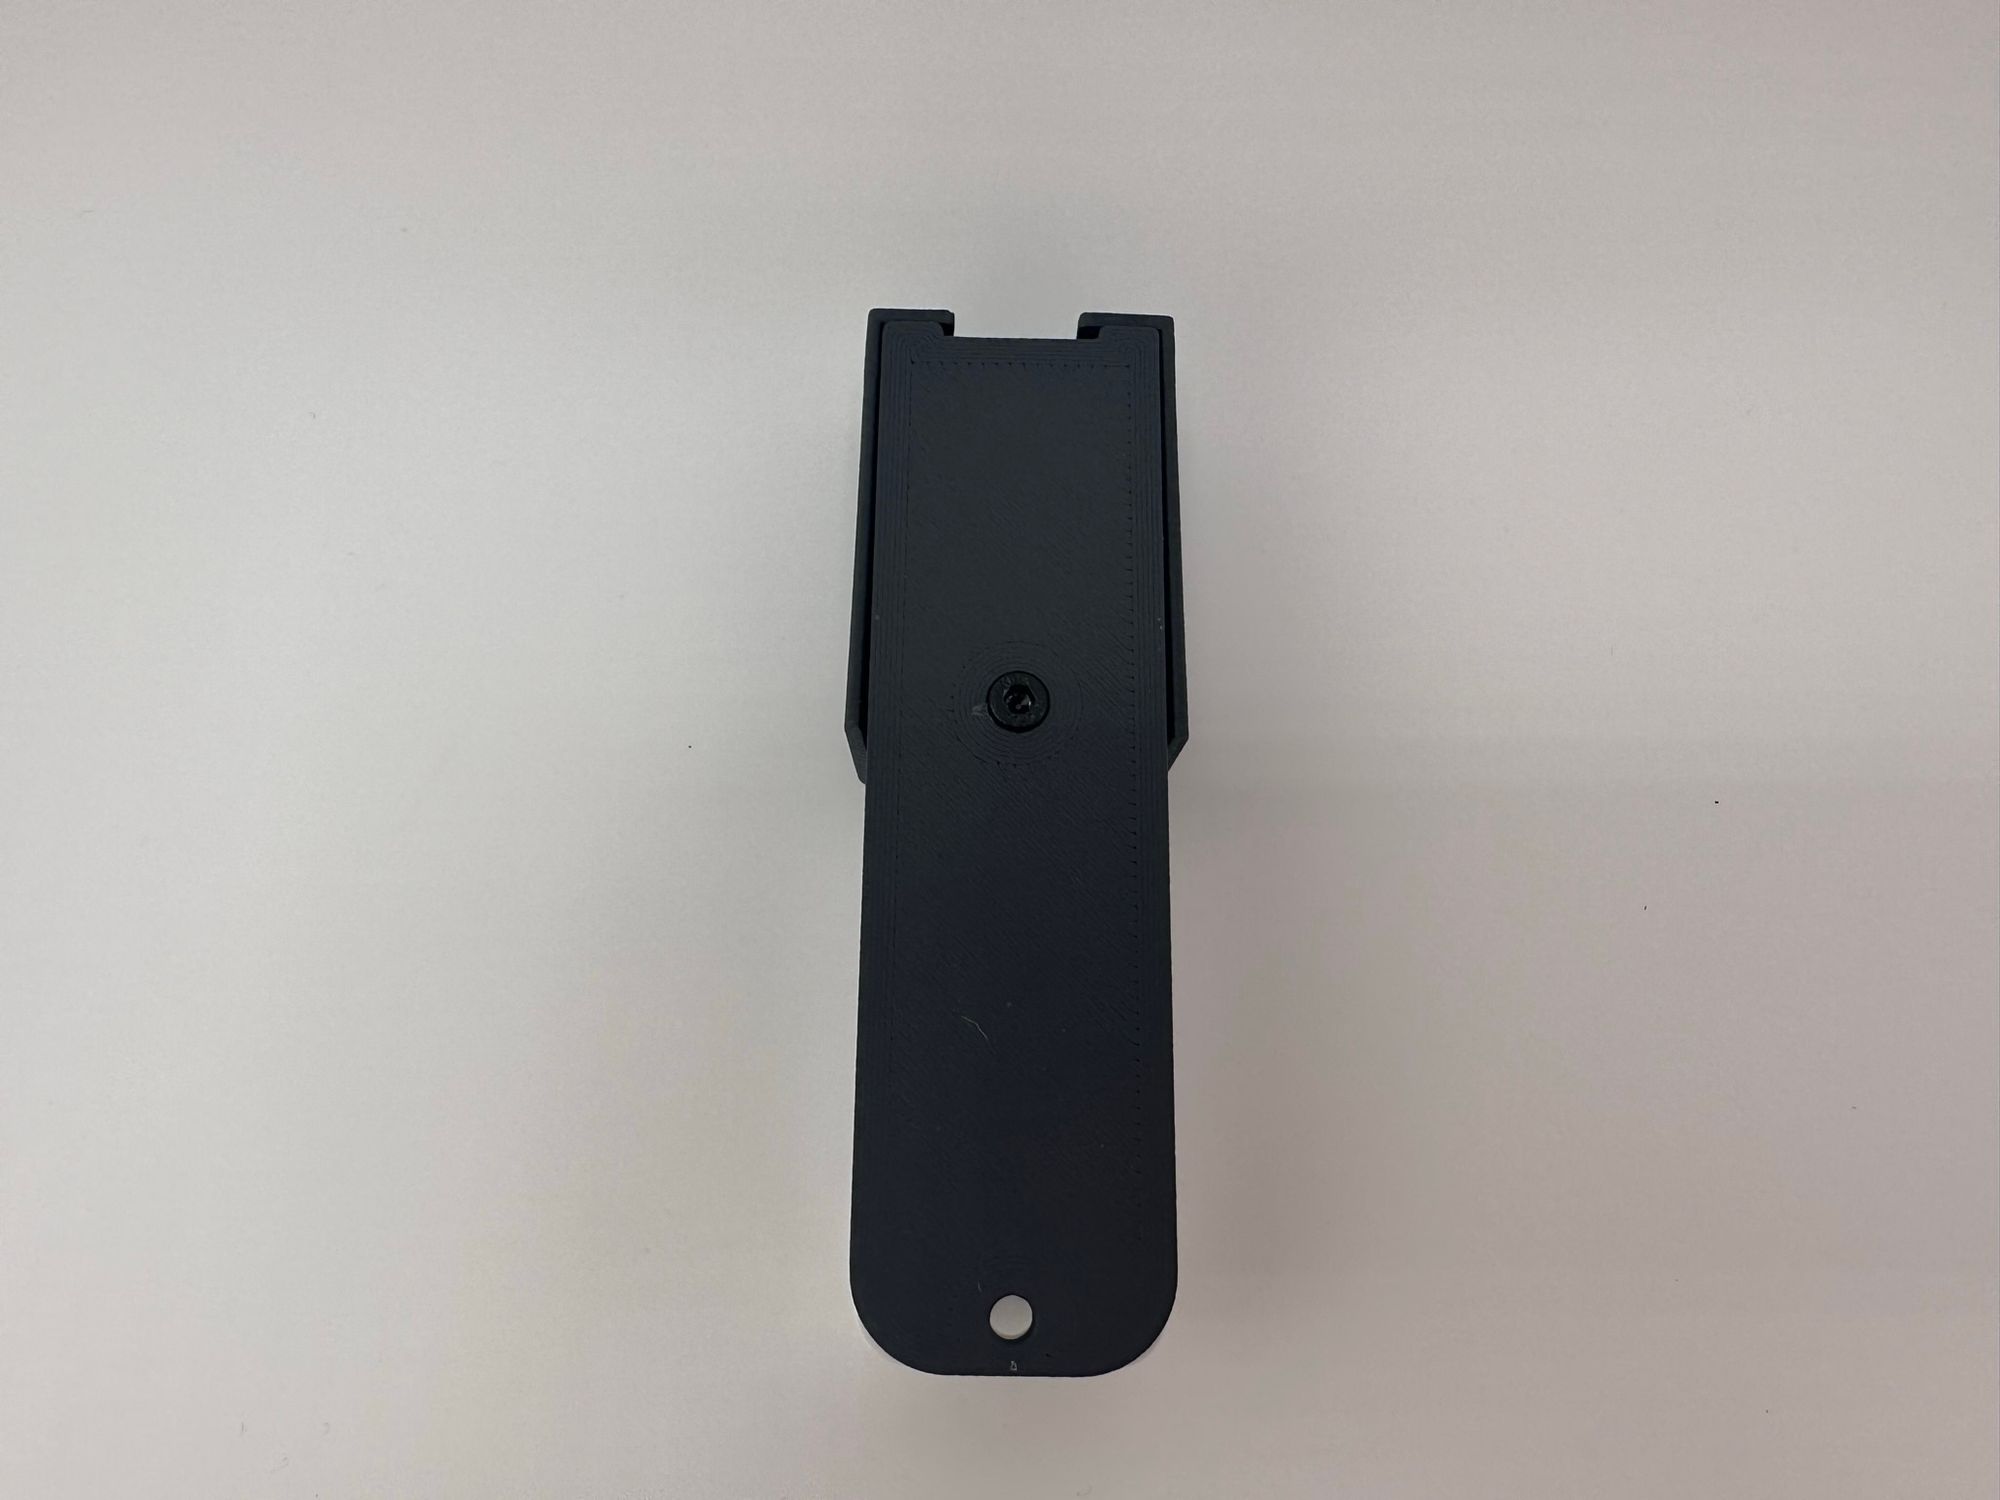
Now you can install the screw on the bottom of the enclosure to lock the sensor into place. While this is not completely necessary, it does provide a more secure assembly.
Bill of Materials
ESP8266 D1-Mini
Quantity: 1
https://www.amazon.com/dp/B09SPYY61L
SHT30 Temperature and Humidity Sensor
Quantity: 1
https://www.amazon.com/dp/B09XBD8G2K
M3x4x5 Threaded Heat Set Insert
Quantity: 2
https://www.amazon.com/dp/B0BTYF2MMD
M3x6mm Cap Head Metric Screws
Quantity: 2
https://www.amazon.com/dp/B0BRWCFD6Q
Final Thoughts
Although this is a very simple project, I hope some people will find it useful. There are off the shelf solutions available, but they generally will cost much more. While it may not have any fancy features, the home assistant integration allows for almost endless possibilities.