Bambu Lab 3D Printer Accessory Control Box: Part 1
A few weeks back, I came across a great project by WolfWithSword to control accessories for Bambu Lab printers. Before we get started, you may want to check out their original work.
While the original was great, I wasn't a big fan of the enclosure. It also requires you to have working Home Assistant and NodeRed instances running somewhere else. This isn't a big deal for me, but seems like a lot of extra infrastructure required just to turn some control some lights and fans!
Let's start with the first area I think could use some improvement - the enclosure. I've designed it using the hardware for the existing solution, and I think it looks quite sharp. In the below post, I've documented the build process and Bill of Materials required to recreate it. You can download the files on Printables.
The Box
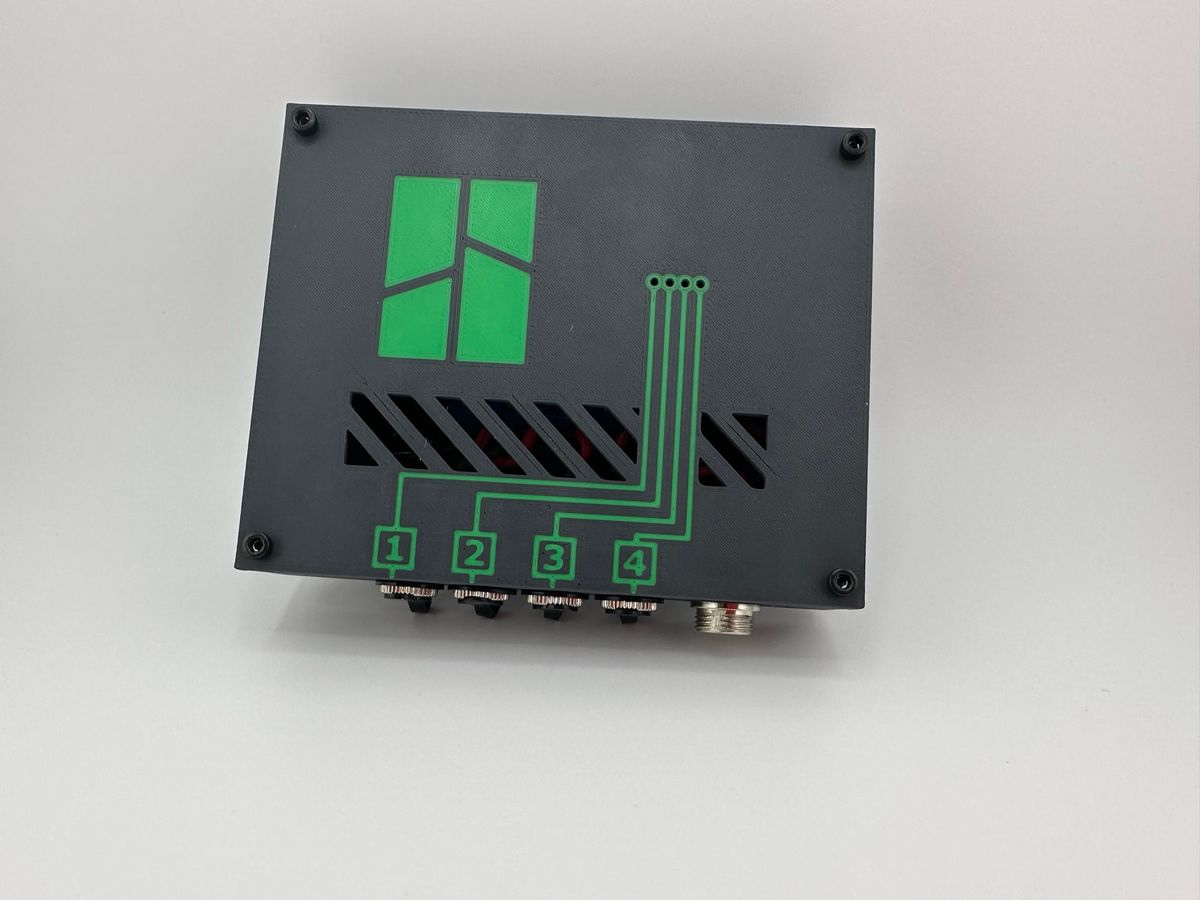
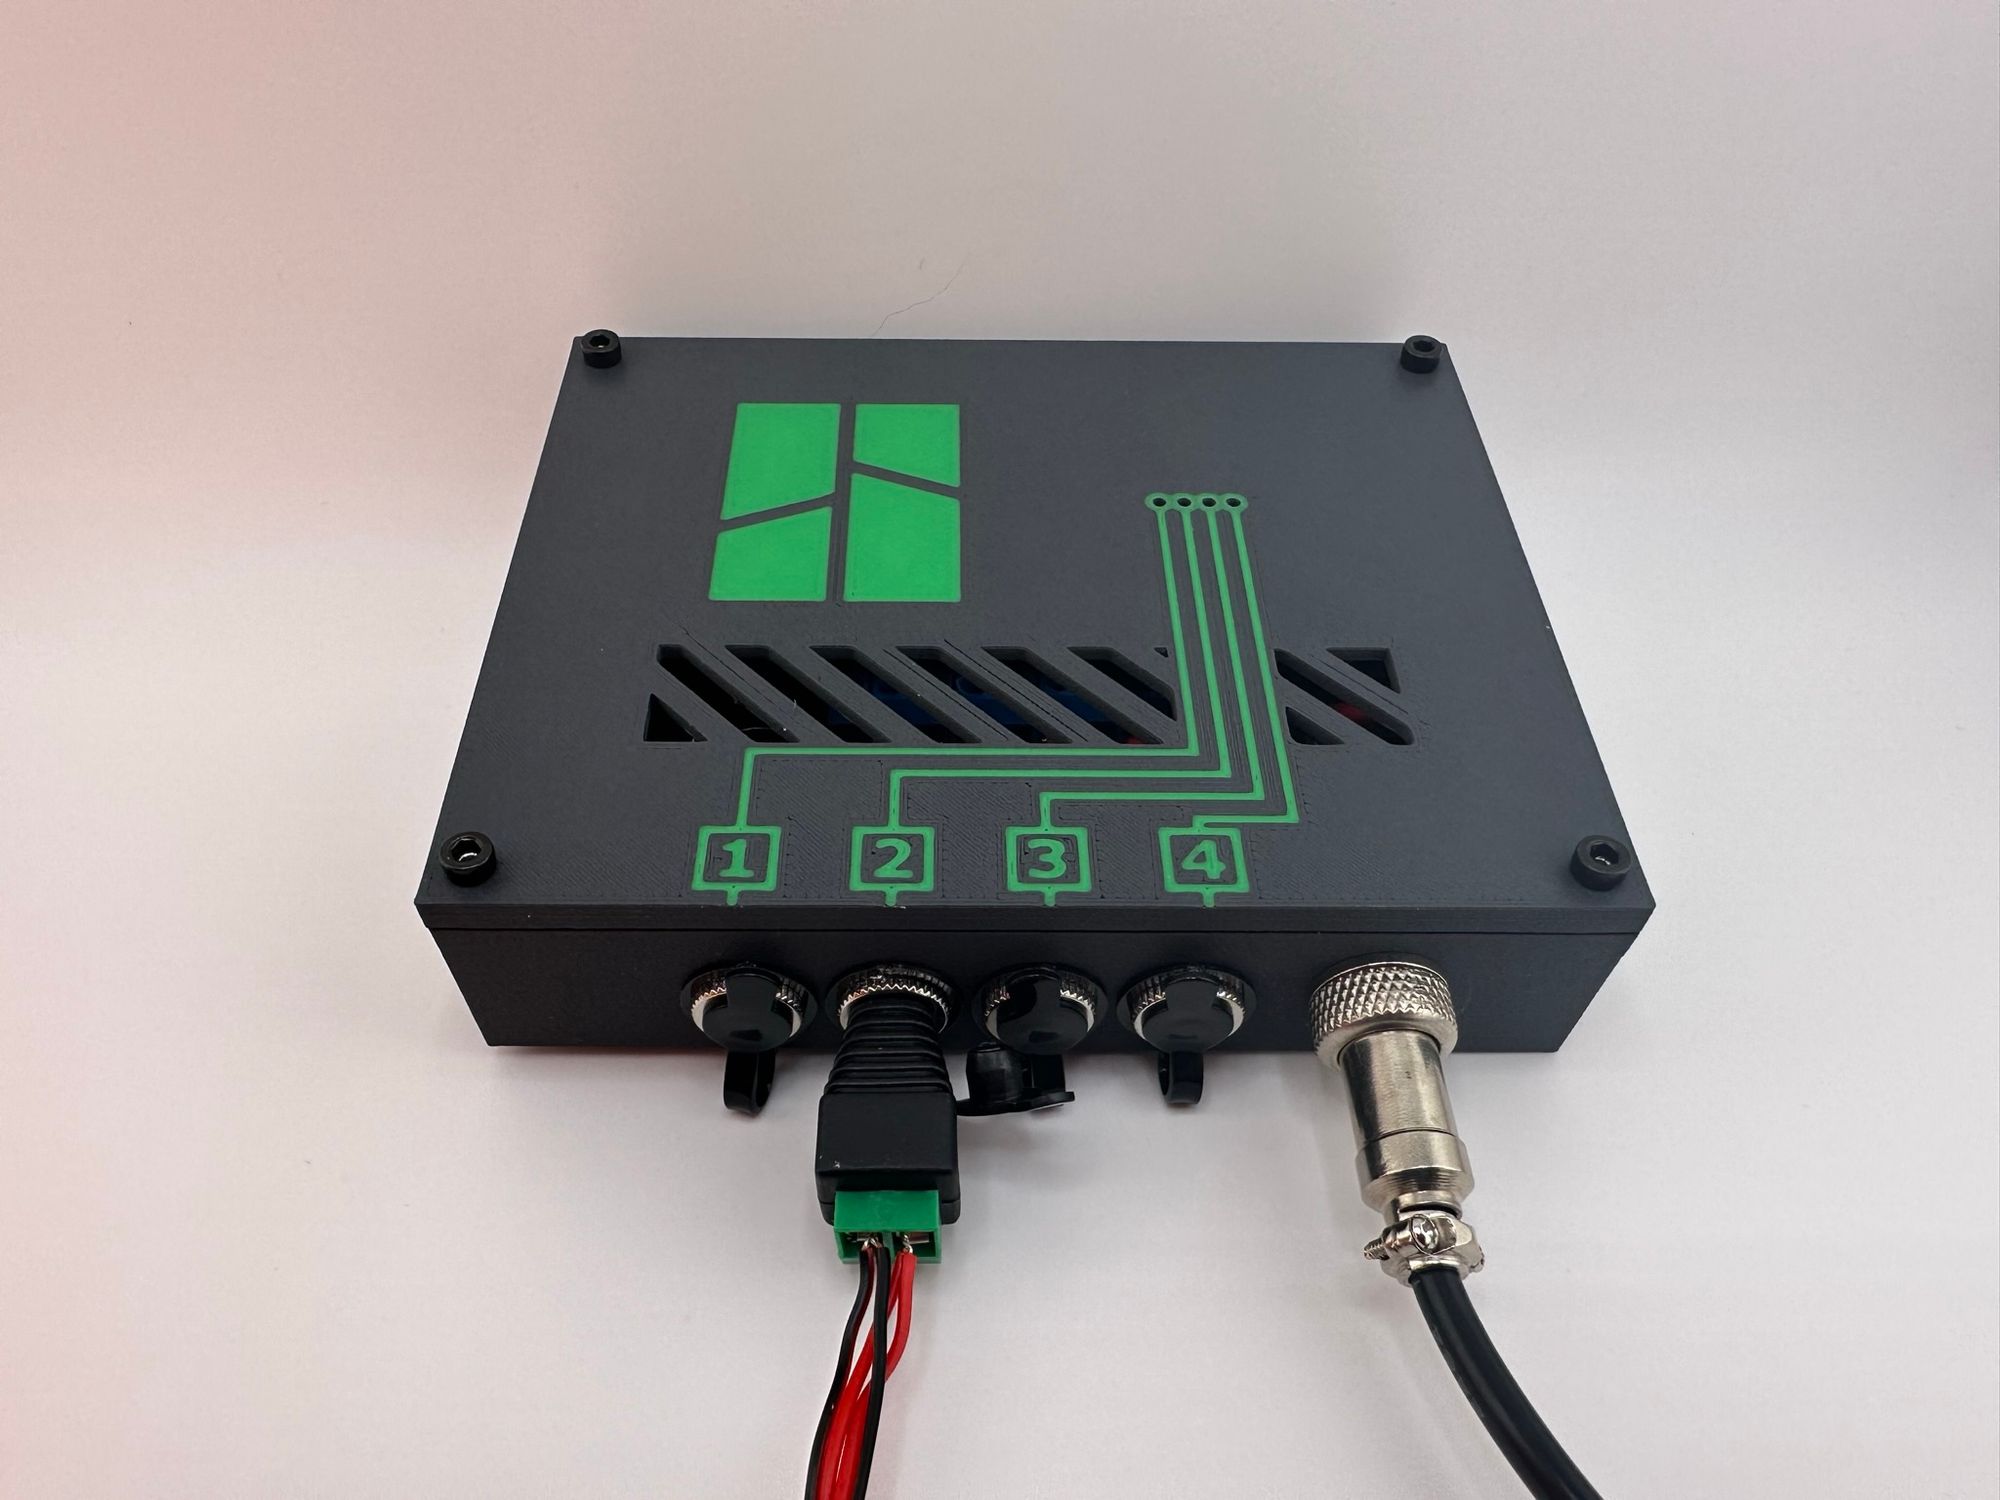
Here is the final product, but let's take a look at some of the changes I've made.
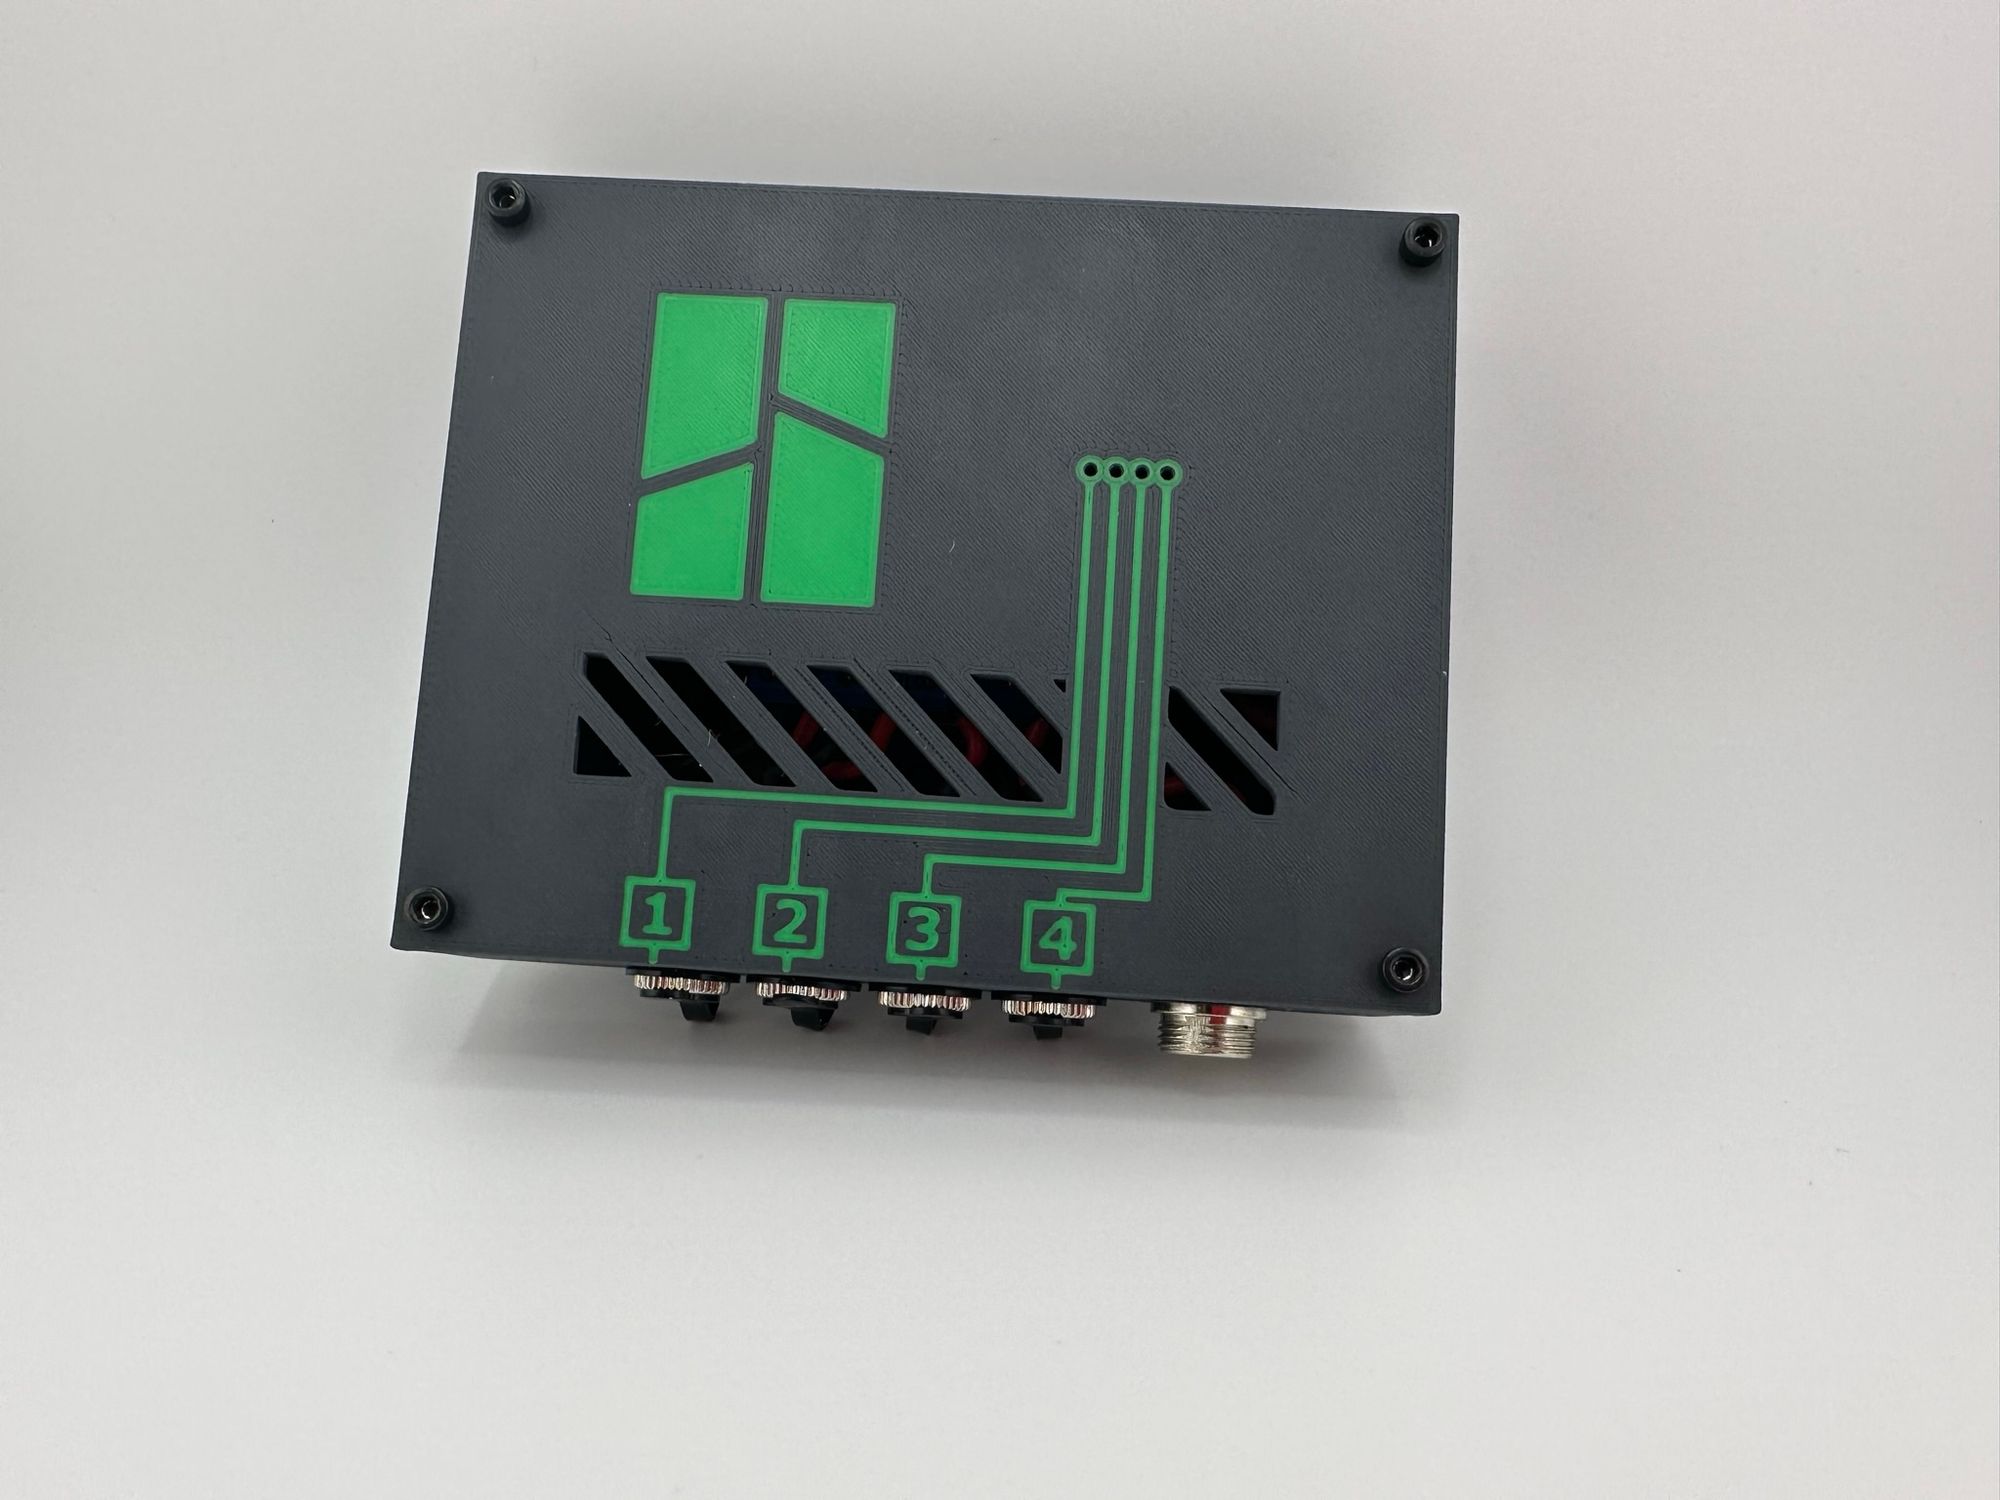
Labels were added on the front of the box so they are more easily accessible and there are light channels on the lid which reach down to the status LEDs on the MOSFET board below.
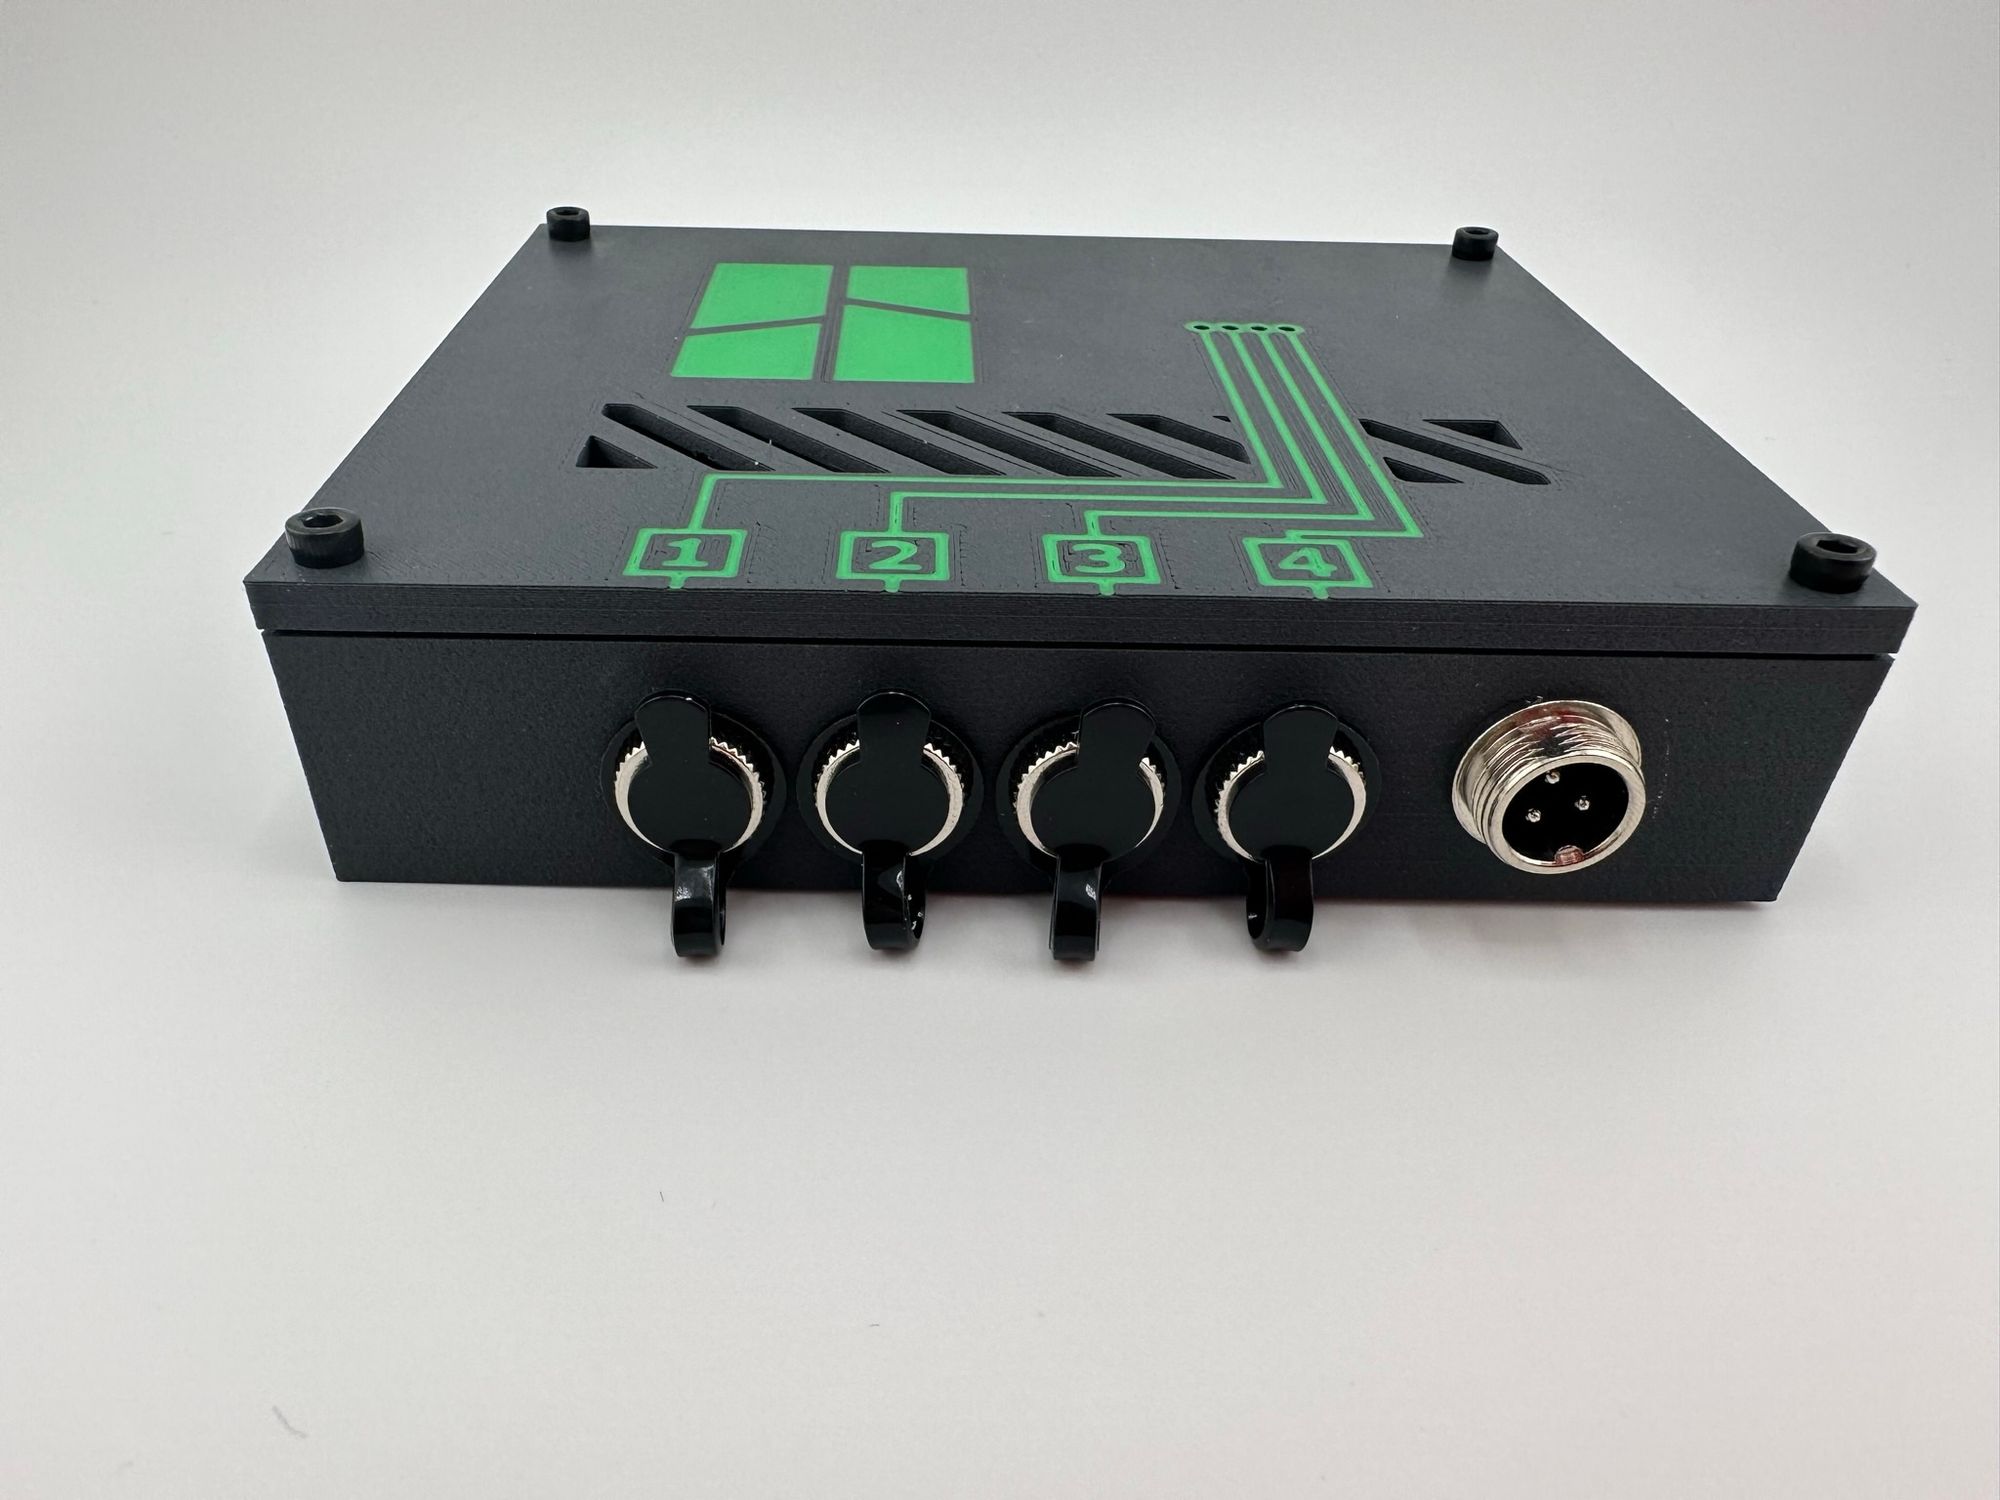
I should note, that although I have a 3-pin GX16 connector in the photo, this was meant to be a 2-pin connector. Amazon just sent me the wrong thing, but it still works just fine.
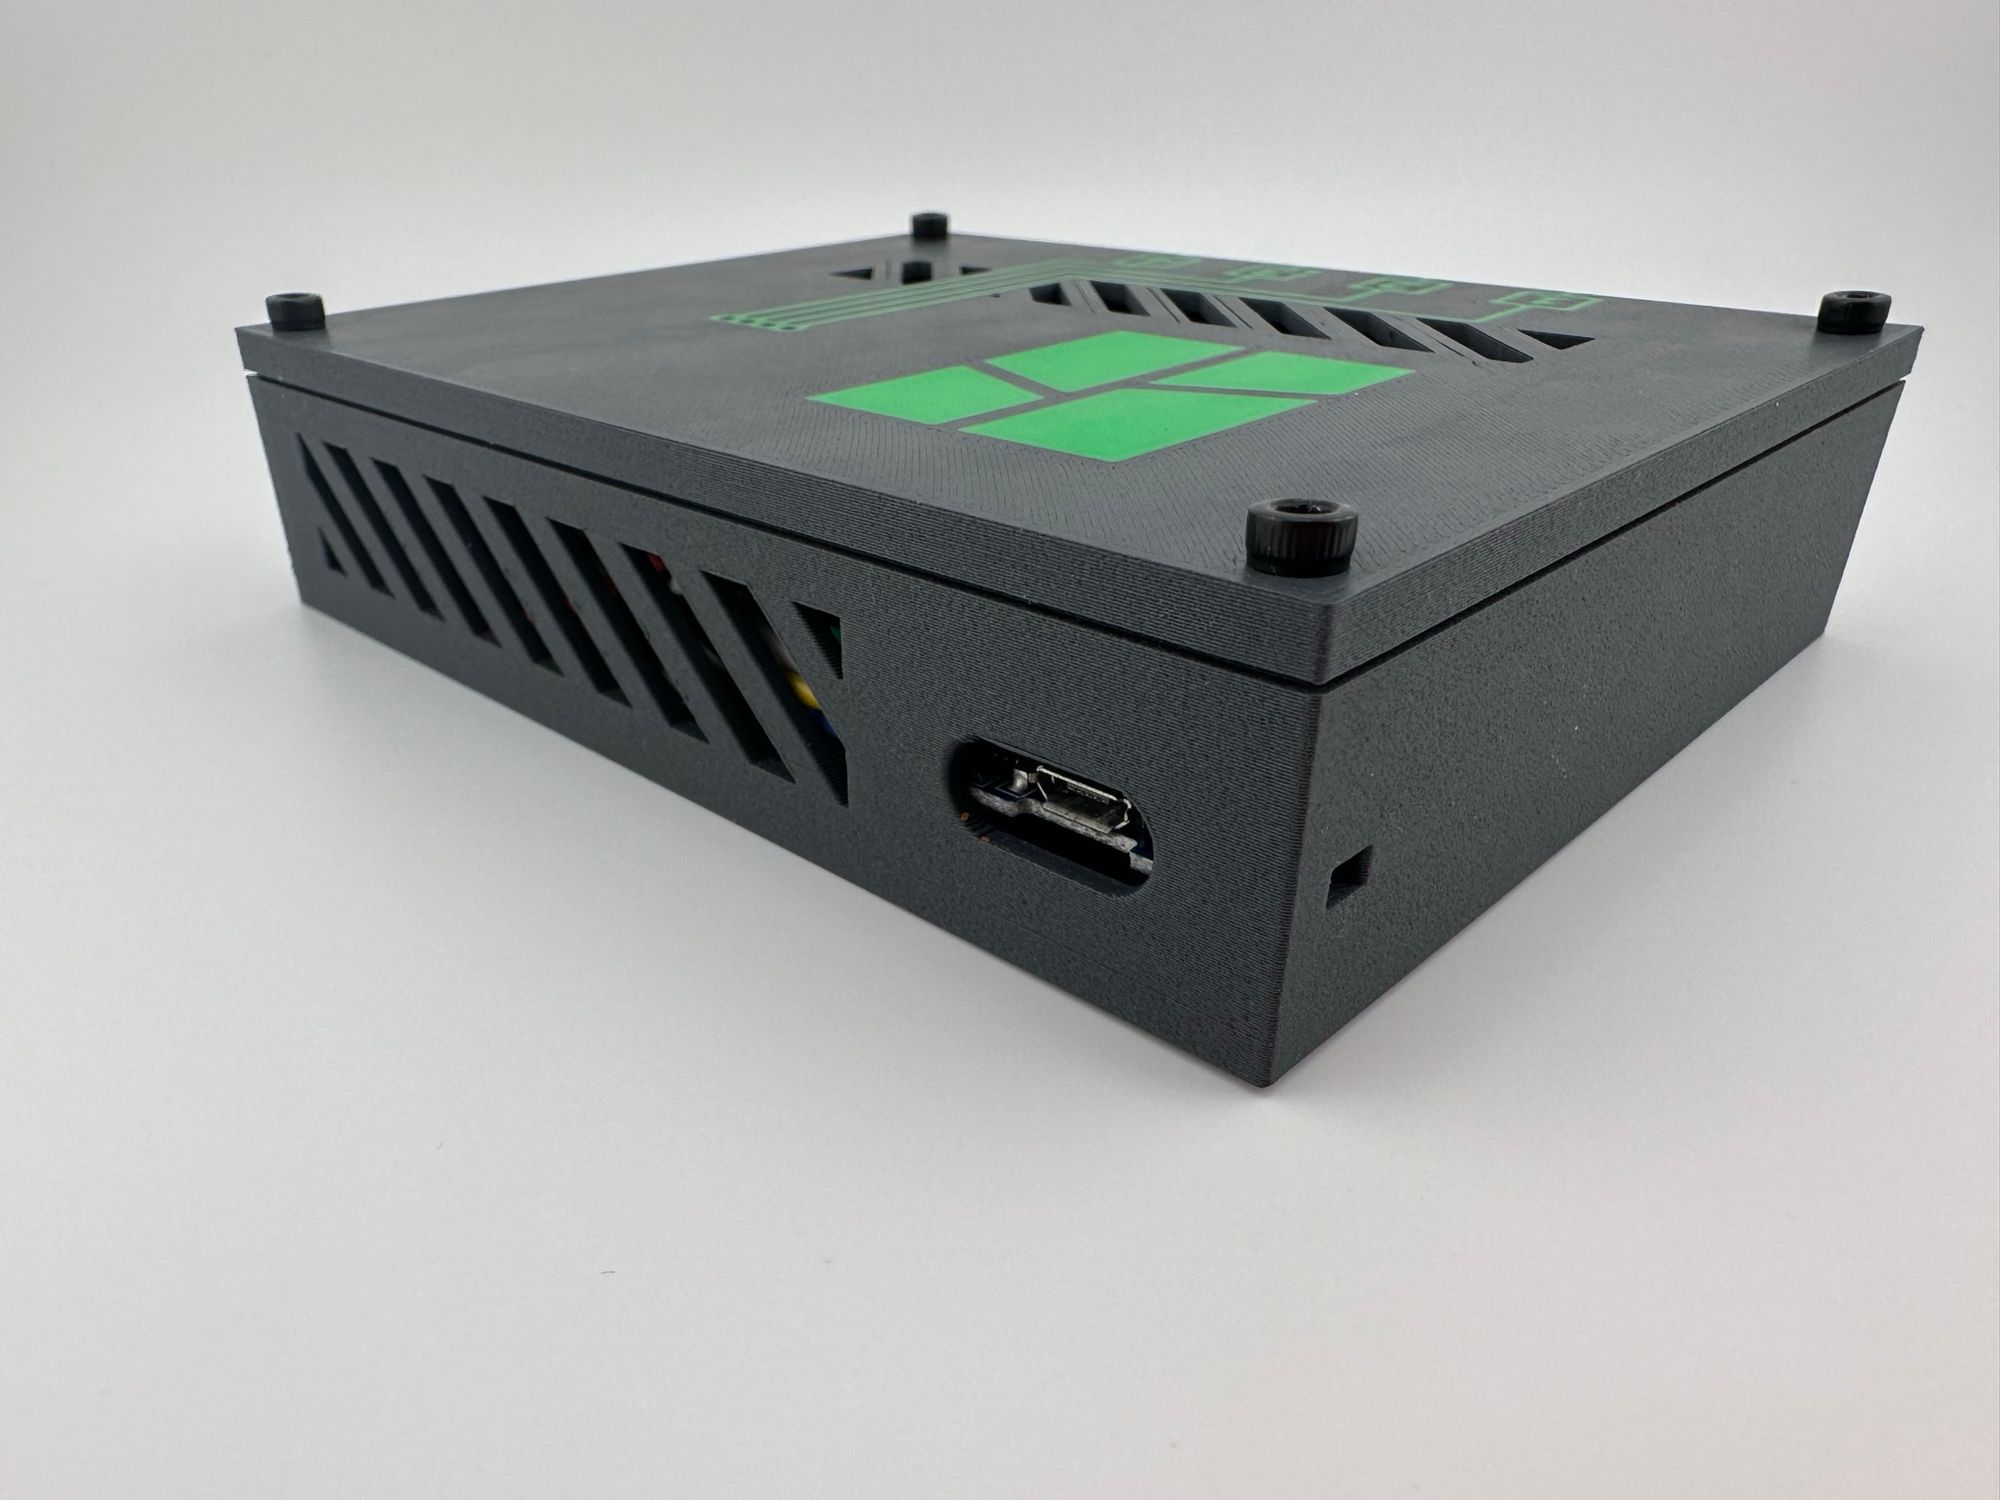
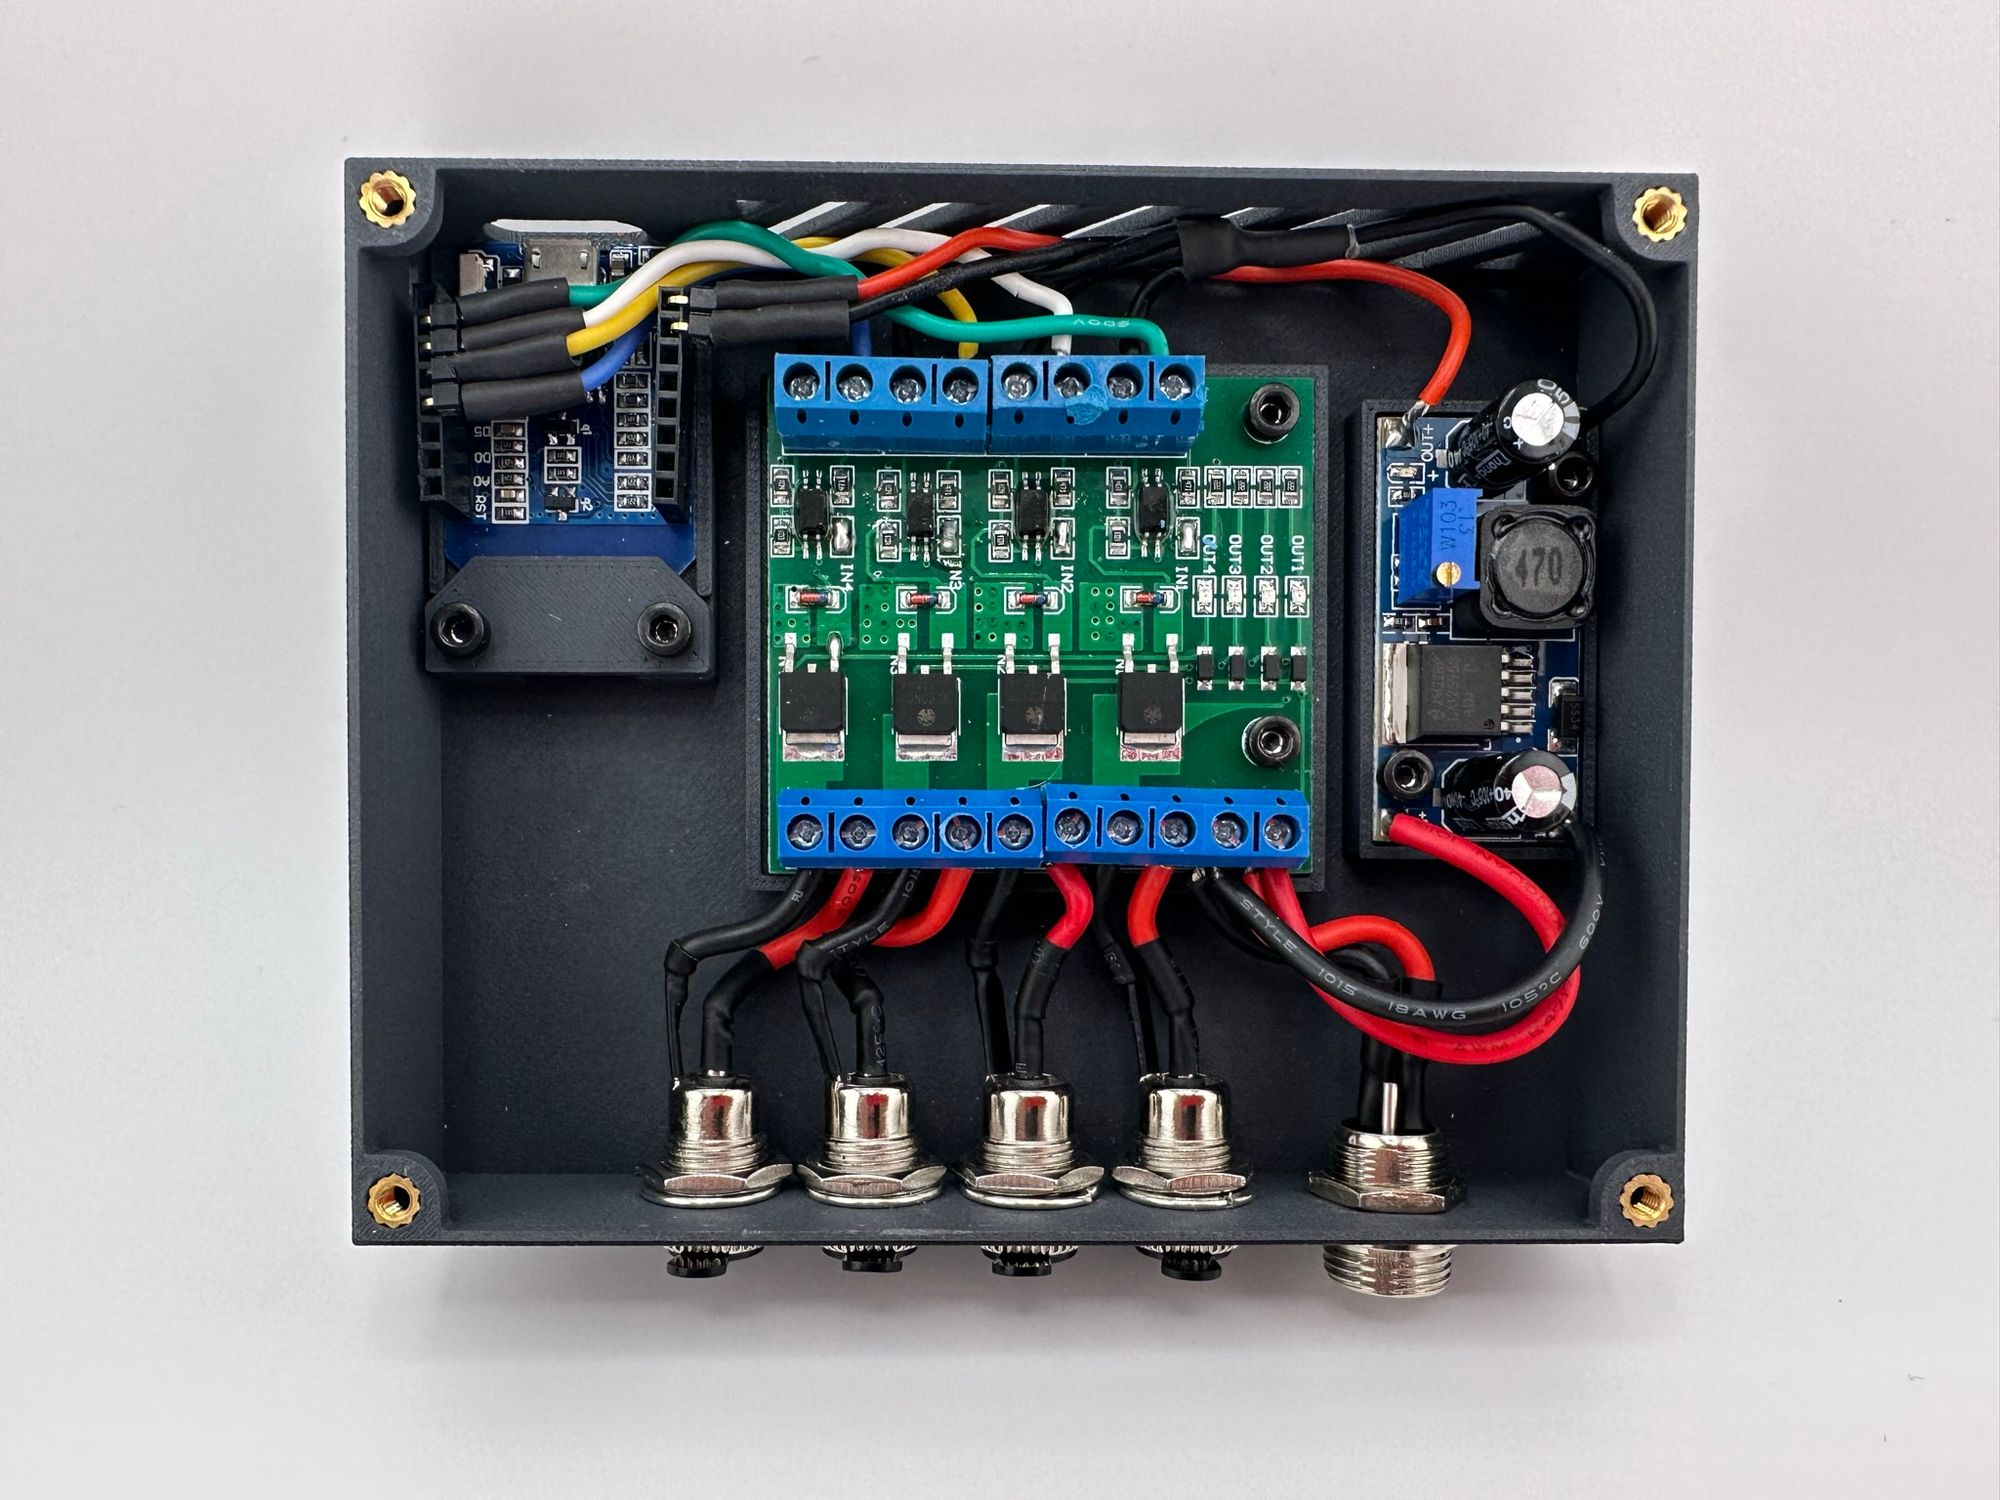
In the original design, the MOSFET board had an issue with the input status LED's causing problems, and I thought I could avoid this by sourcing the board elsewhere. This however, was not the case. You will still need to remove the LEDs and bridge their connections along the top row of inputs.
One last thing not shown in the above pictures, is that there is an array of magnets embedded within the bottom of the box so it will stick to the printer.

If you use the 3mf project file included on Printables, it will have a stop placed in the gcode to allow you to place the magnets before continuing the print.
Supporting Software
For this implementation of the accessory control box, it is necessary to have Home Assistant and Node Red setup unless you want to get into configuring the ESP board more extensively. However, also having an MQTT broker service running makes things much easier, as the printer and accessory box are automatically picked up in Home Assistant.
Please refer to original post by WolfWithSword for details on setting up the ESP board and wiring diagram. Really, excellent work on their part.
Bill of Materials
GX16-2P Connector
Quantity: 1
Link: https://www.amazon.com/dp/B07V54SPKQ
5.5x2.1 Barrel Connectors
Quantity: 4
Link: https://www.amazon.com/dp/B0B66T1QJZ
DC to DCBuck Converter
Quantity: 1
Link: https://www.amazon.com/dp/B00LTSC564
24v DC Power Supply
Quantity: 1
Link: https://www.amazon.com/dp/B088897J2D
4 Channel MOSFET Board
Quantity: 1
Link: https://www.amazon.com/dp/B07QGXY7F3
ESP866 D1-Mini
Quanatiy: 1
Link: https://www.amazon.com/dp/B09SPYY61L
6x3mm Magnets
Quantity: 25
Link: https://www.amazon.com/dp/B07KZQGWNN
M3x4x5mm Heat Set Inserts
Quantity: 10
Link: https://www.amazon.com/dp/B0BTYF2MMD
90 Degree Header Pins
Quantity: 6
Link: https://www.amazon.com/dp/B010ESD338
M3x4mm Cap Head Metric Screws
Quantity: 10
Link: https://www.amazon.com/dp/B0BRWCFD6Q
Other Supplies
Dual Wall Heat Shrink
Link: https://www.amazon.com/dp/B07DFG8QB7
20awg Silicone Wire
https://www.amazon.com/dp/B08CC1DLQF
Final Thoughts
While this is a great working solution, it seems a bit overcomplicated. I plan on recreating this solution using a Raspberry Pi to communicate with the printer and host a web interface to configure the box with some basic automation presets built in. It should also allow customization of automations based on the data received from the printer. This should effectively make an all in solution, which will be much easier to setup and doesn't require external services to work.